
Photoshop is undoubtedly the most feature-rich photo editing platform that offers tons of editing tools and functions to precisely edit anything you want in the image. Since it is a professional editing software, you will need expertise to perform subtle editing tasks.
Making photoshop flatten layers is one of the essential parts of certain photo editing tasks in photoshop. Whether you are a photoshop expert or a beginner, you should know about this function to ensure that you are doing things the right way.
So, what does it mean by flattening layers in Photoshop? And how to flatten layers in Photoshop? This guide will help you to learn.
So, let’s get started.
What is Flattening Layer in Photoshop?
Contents
Flattening layers in photoshop refer to merging all visible layers of an image into one background. When you edit images in Photoshop, you need to create a lot of layers.
If the image is something you will print, you should consider this flattened layer option. It is because the edited image consists of multi-dimensional layers that need to be merged before printing.
Therefore, Photoshop offers the ‘flatten image’ option to help you save your work without compromising the quality.
Why Should You Flatten Layers in Photoshop?
Photoshop layer provides an excellent way to organize your work and save different editing parts flawlessly. When editing your image in Photoshop, you will need to create a lot of layers to perform different editing tasks. And sometimes, you might discover that you have jumbled up with tons of layers that need to arrange properly.
Keeping layers organized is the key part of successful editing with Photoshop. However, if you are going to print your image, you should ensure that you have merged and flattened all the layers. Otherwise, you can see unwanted changes in your image, such as font changes to the default.
To prevent this change in your image, you should flatten layers to get the best print results. Here are some more reasons why you should flatten layers in photoshop.
Reduces File Size
Flattening images helps to reduce the file size significantly. When you flatten image, all the layers are merged and visible. You can skip layers that you don’t need to keep your file size small.
Easy to Transfer
As it makes the file size small, flattened images take up less space and can be transferred easily.
Make Layers Uneditable
Flattened image makes your layers uneditable. That means once you hit the flatten image option, there is no going back, and you cant perform further editing on that file. Therefore, it is recommended to make a copy of the original file and flatten the duplicate file if you want to make further edits to your image.
How to Flatten an Image in Photoshop?
Flattening an image in Photoshop is simple. You just need to find the option and click on that. Boom!! Your image has been flattened.
With just a few steps, you can easily flatten layers or images. But before you hit that option, you should take some initial steps to ensure that you aren’t flattening the original file. If you do that, you will be unable to restore and change that file further.
Let’s see how you can flatten layers in photoshop with a few steps. We use multiple layers in this example so you can understand how to do it when you are working with so many layers.
Step – 1
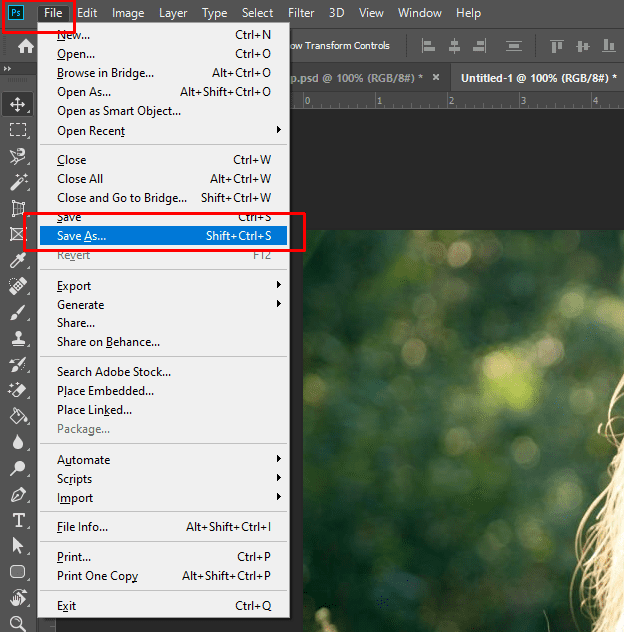
First, make a copy of the original file and save it so that you can alter anything you want to be needed in the future. It is highly recommended, as once you flatten your file, it will turn into an uneditable file. So, flattening the original file will prevent you from changing anything required.
To make a copy of the original file, navigate to the top menu of your window and click File > Save as.
Step – 2
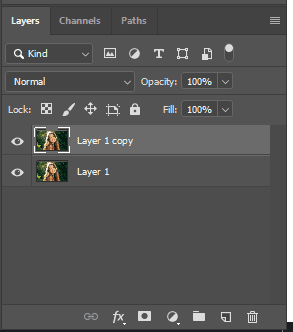
Now go to the layer panel and see if you want to flatten all the layers. You can select specific layers or go through all the layers at a time. Once selected, you are ready to flatten layers.
Step – 3
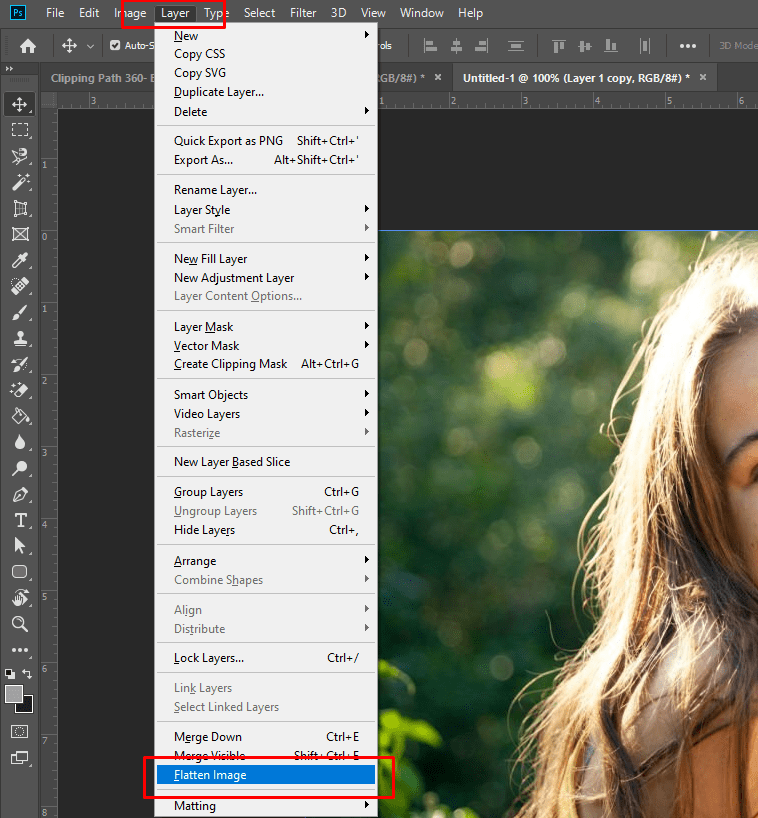
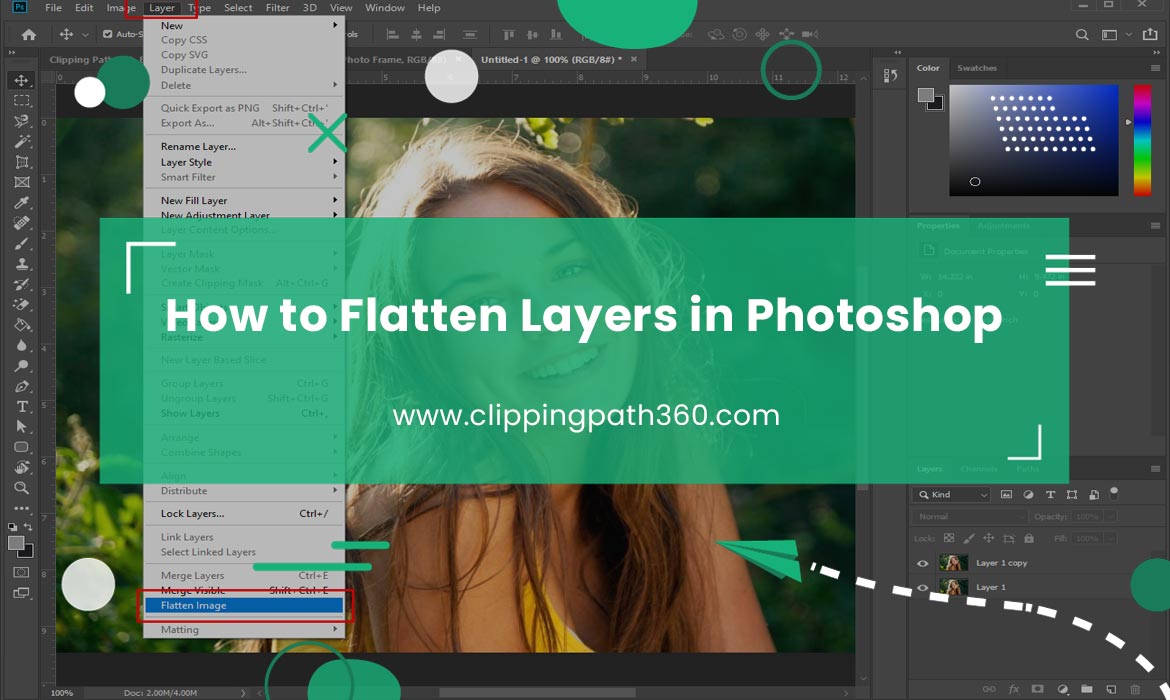
To flatten layers, go to the above menu bar and select the option ‘Layer’. You can see a dropdown menu appears. From there, find the option ‘Flatten image’ and click on that. You can also use the shortcut Ctrl+ Alt + Shift + E to flatten your image.
Flattening image will remove the transparent background and rasterize all the vector works in the layers, including texts and vector artwork. It will prevent font changes when printing files.
Conclusion:
Finally, this simple editing function will help you to save your precious artwork from errors. Thus, all you have to do is to follow the steps mentioned in the guide above.
Removing unnecessary layers and merging them into a single layer will help you reduce the image size without compromising the quality. In the end, you will have flattened your layered images with ease.
Frequently Asked Questions
If you have any questions about this topic, you can check out the answers below.
What Happens When I Flatten Layers in Photoshop?
Applying the flatten layer option to your workspace in Photoshop will combine different layers. As a result, you will achieve a compressed, optimized, print-ready version of your image.
Can I Undo the Flattening of Layers in Photoshop?
If you have flattened your image’s original file and saved it, then there is no way to undo it and get back the previous version. However, if you haven’t saved the flattening layer file yet, you can redo the process that you have done to make the flattened layers. If your image is flattened into a smart layer, you can undo the flattening of your layers by simply double-clicking the smart layer.
Is There a Way to Flatten Only Certain Layers in Photoshop?
Yes, you can flatten only certain layers in Photoshop by selecting them while holding shift and then applying the flatten layers option.
Can I Flatten a Layer Group in Photoshop?
Yes, you can flatten either a group of layers or specific ones based on your need.


