
In Photoshop, there are loads of functions and tools to alter images just how we want. This professional photo editing software provides one-step solution for simple to complex photo editing tasks.
With Photoshop, you can simply change an image’s overall look or any specific objects such as background, hair color, dress color, etc. Mirroring is one of the most basic yet useful functions included in Adobe Photoshop. With this, you can transform a simple image into an eye catching one without much effort.
If you don’t know how to mirror an image in Photoshop, this article will tell you what it is and how to use mirror function in Photoshop.
What is Mirroring an Image in Photoshop?
Contents
Like other photoshop editing, mirroring is fun and useful. It provides an excellent way to add special effects to the image and gives it a unique touch. Photoshop mirroring effect results in a mirror-like reflection effect by flipping the specific image side horizontally or vertically.
Photoshop mirroring effect works effectively to create shadows on product images and make reflections of anything you want.
You can easily achieve this excellent effect in your image with just a few clicks. So, if you want your images to be reflected on their opposing side, this function will help you to do that easily.
Let’s see how you can mirror an image in Photoshop:
Step-by-Step Guide to Mirror an Image in Photoshop
Mirroring images with Photoshop can be done in many ways. But in this guide, we will go through the simplest way to understand how easily you can get this effect on your image.
Let’s jump right into the step-by-step guide below:
Step: 1 – Open Your Image and Duplicate It
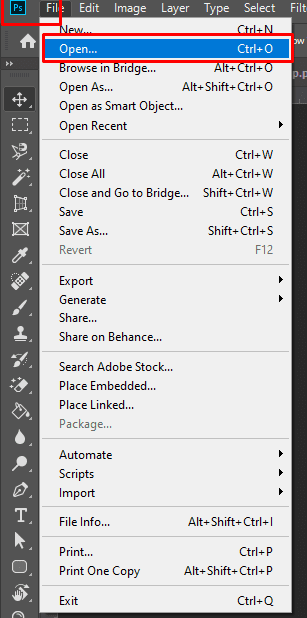
First of all, you need to select an image to that you want to apply the mirror effect. Open the image in Photoshop and make a copy of the document. We will work on this duplicate copy so that the mirrored version won’t save accidentally.
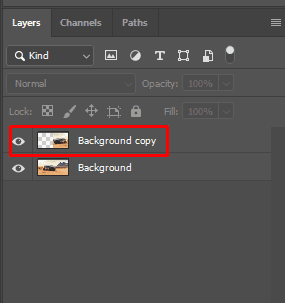
To duplicate the layer, go to the layer panel and right-click on the background. You can see the option ‘Duplicate layer’ appear in the window. Click on that, and you can see a new layer named ‘Background copy’.
You can also duplicate the layer by simply dragging and dropping the background layer to the ‘Add new layer’ button or using the shortcut ‘Ctrl+ J’. We will use this duplicate layer for the rest of the editing part.
Step: 2 – Set up Your Image Canvas by Cropping or Defining the Canvas
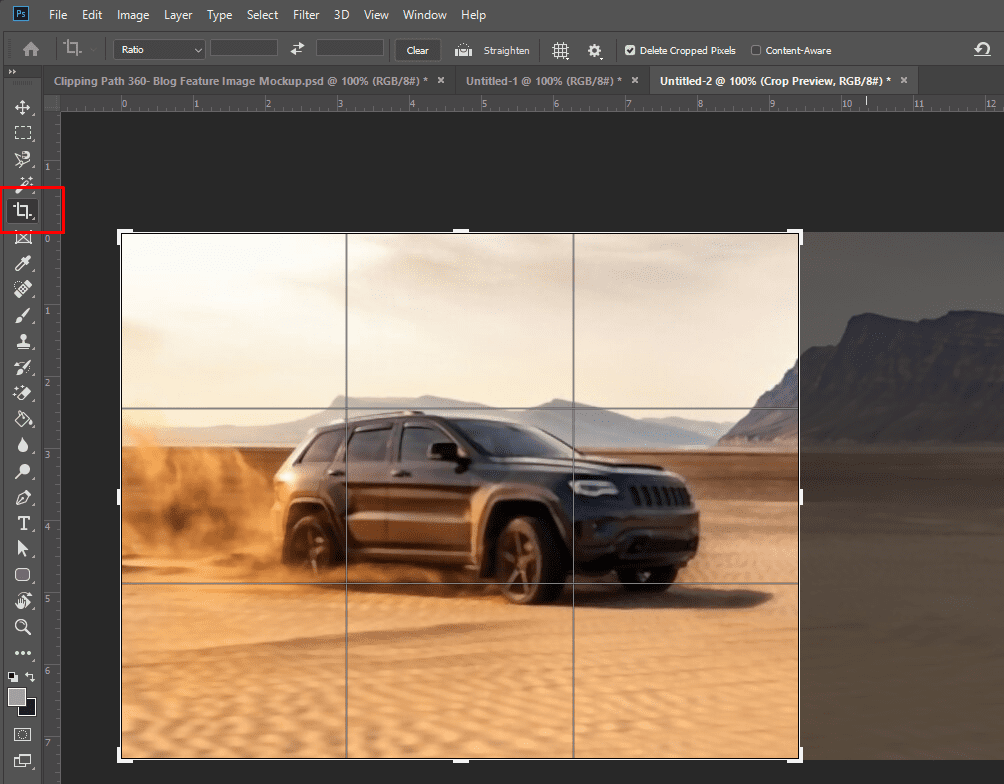
When the duplicate layer is selected, we will cut out the unwanted part of the image to keep the main object focused.
To do that, select the crop tool from the toolbar and look at the above ‘aspect ratio’ option and change it to Ratio. It will help you to crop freely without any adjustment issues.
If you are using a portrait image, remove the unnecessary aspects of the image to make the final result look way better. If you think you don’t need to crop the image, skip this part.
Once you have done cropping, check out the mark to delete the unwanted part of your image and proceed to the next step.
Step: 3 – Applying Free Transform Option
Now we will get to know the use of the transform option and see how you can apply and transform images through it.
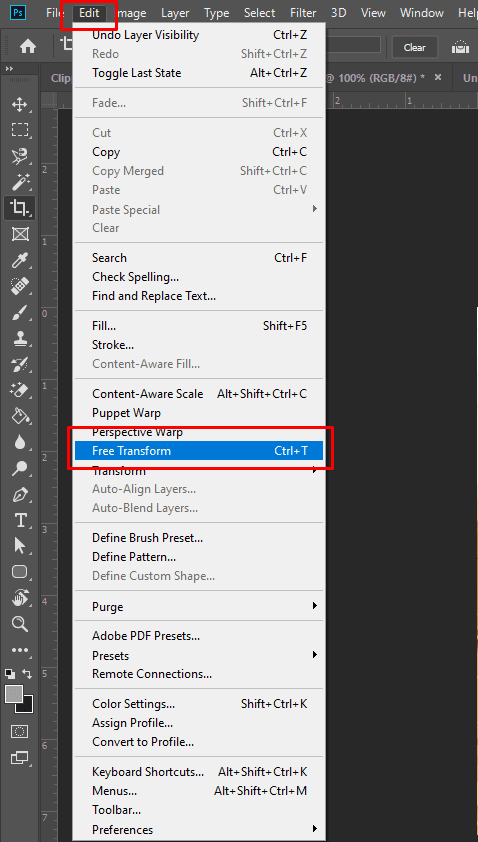
To find the transform option, click the ‘Edit’ option in the above menu bar, and a dropdown menu will appear where you can see options like ‘Free transform’ and ‘Transform’.
These options will help you mirror your image with a snap. We will disclose both transform and free transform options so that you can understand which option you should use for specific purpose.
Free transform allows you to flip and mirror your image vertically and horizontally. When you select the option, you can see a transform box covering the entire image with a reference point (target icon) in the center of the image.
The reference point will instruct the program where you want to flip the image as you need to keep it on that part. If you want the image to flip from left to right, you must keep the reference point on the right, like us.
Then with the free transform option selected, right-click on anywhere in the image and select the ‘flip horizontal’ option from the appeared menu. You can see the canvas stretch to the right side with the same dimension as the image.
If the stretched box is black, you should go to the above menu and click the ‘Image’ option. Then select ‘Reveal all’ to make everything visible on the canvas.
Step – 4: Applying Transform Option
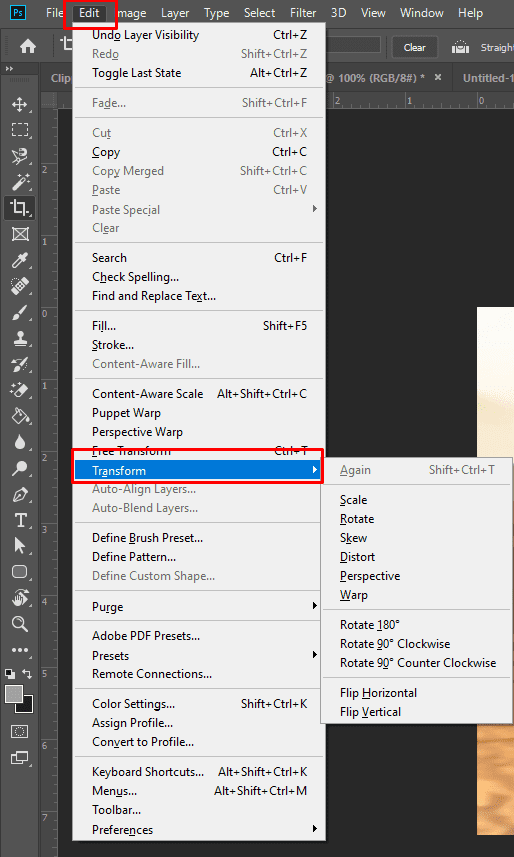
Along with the free transform option, you can see another option called ‘Transform’, which offers more options related to transforming, for instance, scale, rotate, skew, distort, perspective, warp, and flip horizontal, flip vertical also. But before applying the transform option, you will need to select which side you want to stretch the canvas.
Go to Image > Canvas size, double the canvas size, and hit OK. In the Canvas size display, you can also see an option called ‘Anchor’ where you can give directions to which side you want to stretch the canvas.
Grab the anchor point, put it opposite the stretched side, and you can see changes in the canvas.
Step – 5: Mirror the Image Horizontally
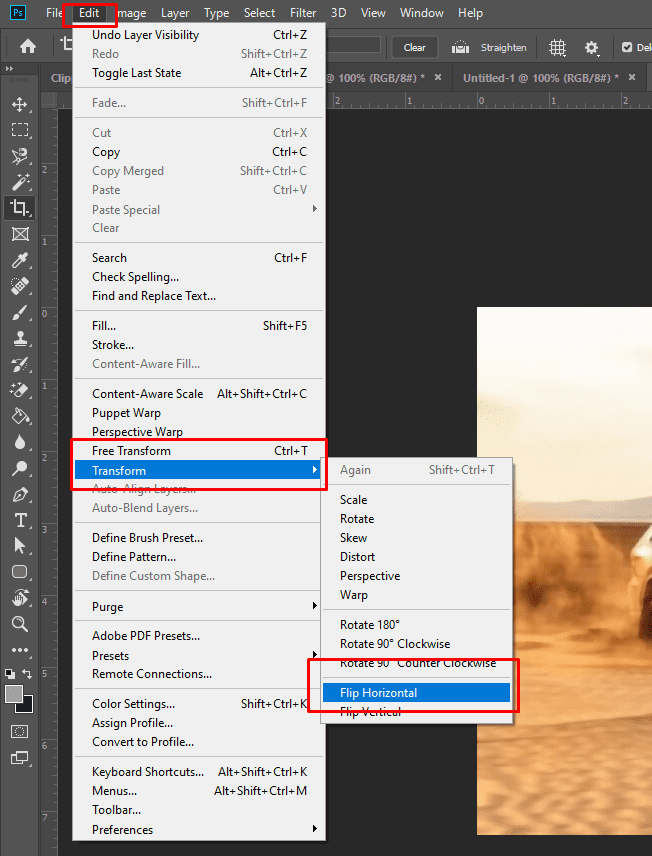
Now we need to mirror the image horizontally, go to the Edit option in the menu bar, click Transform, and choose the option ‘flip horizontal.’
Now select the ‘Move tool’ by clicking ‘V’ on your keyboard and drag the image to the left. Photoshop will automatically adjust the image in the correct position if you have the ‘Snap’ option selected.
Don’t know where the snap option is located? Head to the men’s bar in your window, select ‘View’, and see a dropdown menu where the ‘snap’ option will be visible.
Using the transform option, you can also mirror the image vertically, warp and rotate clockwise, counterclockwise, and 180.
Bottom Line
Mirroring images with photoshop is absolutely easy if you know how to do that. The above guide will help you to learn the technique and apply this to your images. Follow the above guideline to apply mirror effect and transform your simple image into an eye catching one.
FAQs
Here are some frequently asked questions to get quickly get into it and learn more about this photoshop effect:
Is There a Mirror Tool in Photoshop?
There is no dedicated mirror tool in photoshop. We call it mirror effect as it can create a reflection of any object and can result in a mirror-like effect at the end. To apply this effect to your image, you will need to go through a specific process stated above. If you want to mirror an image, you will need to follow that process.
How do I Mirror a Single Object in Photoshop?
To mirror a single object in Photoshop, you will need to crop the image first to get the best version of the mirror effect. After that, you will need to use either transform or free transform option to flip your image vertically or horizontally. For more details, go through the above article to see how it works.
How do I mirror flip an image?
To mirror flip any image, you will need to go to the transform option, which you can find under the ‘Edit’ button in the menubar. Once you select the transform option, you can see the options like flip horizontal and flip vertical. Use the options to mirror flip an image based on how you want to transform the image.
Is Mirroring the Same as Flipping?
Mirroring isn’t the same thing as flipping. Flipping refers to just flipping the image horizontally or vertically. On the other hand, mirroring is a photoshop effect that can be achieved by stretching the image in vertical or horizontal direction and then filling the space with the background or object.


