
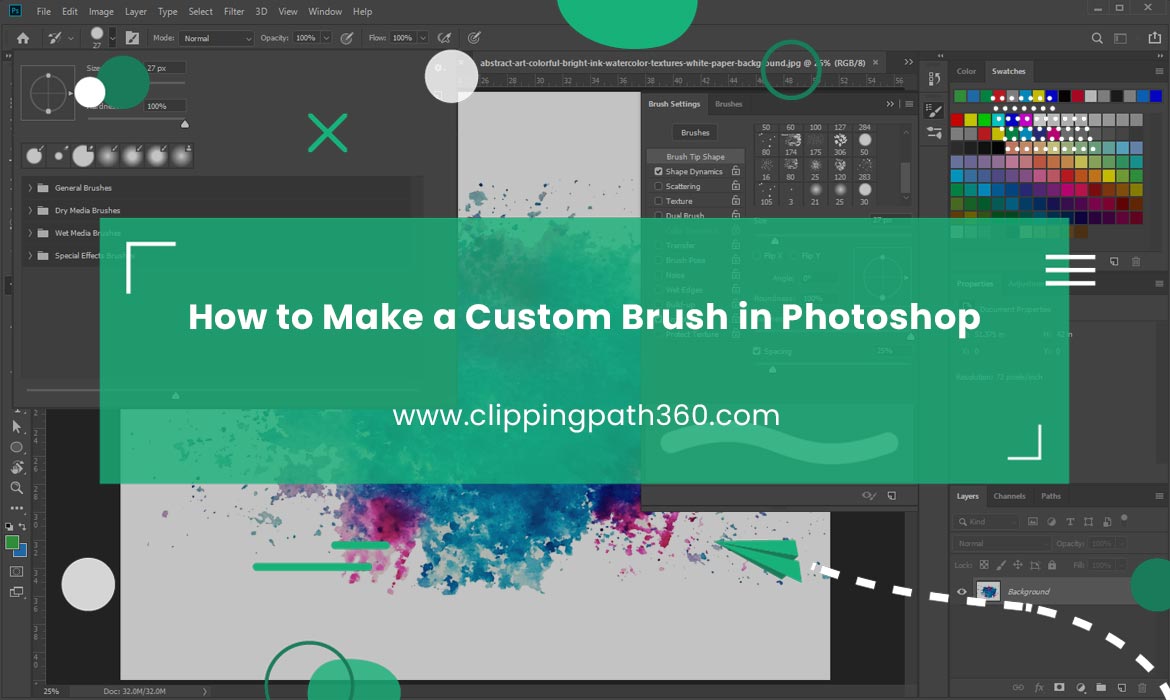
Photoshop brushes are interesting and provide huge advantages to making more professional graphics. Photoshop allows adjusting brush size, stroke, and other settings to get the most custom brush you need for your purpose.
But sometimes, you probably need to use more customization for your brush. Also, you can think of turning any specific object into a brush to make more precise outcomes for your graphics.
So, how to make a custom brush in Photoshop? This article will help you understand it clearly.
Let’s jump right into the discussion:
Step-by-Step Guide to Making Custom Brush in Photoshop
Contents
Photoshop brush tool works great as you can simply paint anything with that. You can increase or decrease your brush size to make the perfect size for your brush.
Using Photoshop brush tool is easy. With a document open in your window and the brush tool selected, you just need to move your cursor to what you want to draw on the canvas.
For beginners, brush tool is a good way to get started with Photoshop editing. However, if you aren’t familiar with Photoshop’s built-in brush settings, you need to get it before you are going to use custom brush for your purpose.
Let’s learn how to make a custom brush in Photoshop below:
Create a New Document
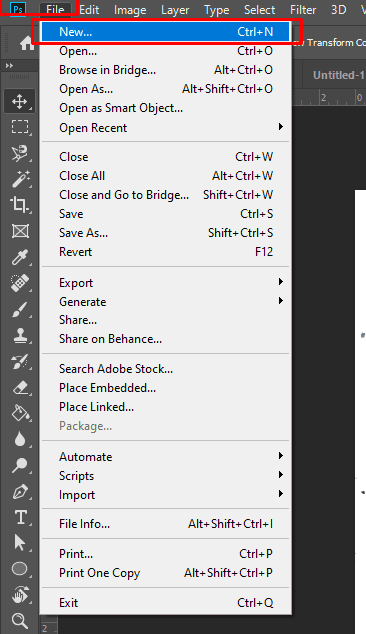
First, create a new document for your custom brush.
Press shortcut ctrl+N to create the new document.
When setting up height and width for your document, remember that you need to keep it exactly what you need.
It is because Photoshop allows creating custom brushes up to 2500 pixels. But you don’t want to keep it much higher as higher-resolution brush takes more power to work and keep things smooth.
For now, we will keep the brush size of 300×300.
Draw the Brush
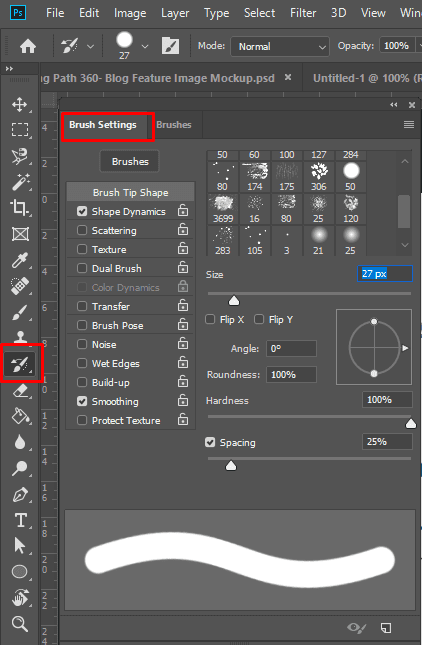
Now you need to draw the custom brush with Photoshop’s existing brush tool. To do that, you need to select the brush tool from the left menu bar or press shortcut B from the keyboard to select the brush tool directly.
Selecting the brush tool will open a new window with all the required to adjust the brush settings. From there, set the brush size and decide how harder or transparent you want it to be.
Then simply design the custom brush using the brush tool. You can design anything based on how you want to look your custom brush. For instance, you can design something like sparkle, water drop, cloud, or anything you want.
After drawing the preferred brush, you should turn it into a brush template and save it for later.
Let’s see how to do that in the next step:
Turn Drawings into Brush
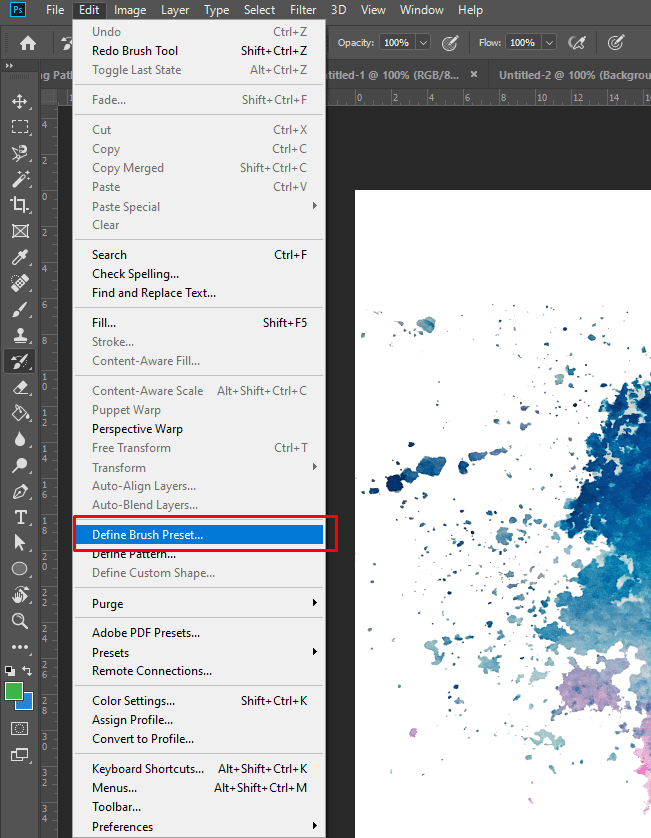
To turn your drawing into a brush, go to the ‘Edit’ option from the above menu bar and select ‘Define brush preset.’ You can see the drawing has turned into a brush, and you will need to set a name for the custom brush.
Now it just requires setting the color and other settings, such as spacing, smoothing, and color for the brush, and hit the OK button. Your custom brush has been saved.
How to Turn Any Image into a Custom Photoshop Brush?
In addition to drawing custom brushes in Photoshop, you can turn any image or object into a brush using specific Photoshop options. This is an excellent way to get custom paint of a shape or image and make your design look more interesting.
Turning an image or object into a custom brush means you can use it anywhere you want, like as a watermark. For instance, if you want to include signature in your designs, a custom brush and then using it in your designs is the best way to do that.
Let’s see how you can turn any image into a custom Photoshop brush here below:
Open the Image
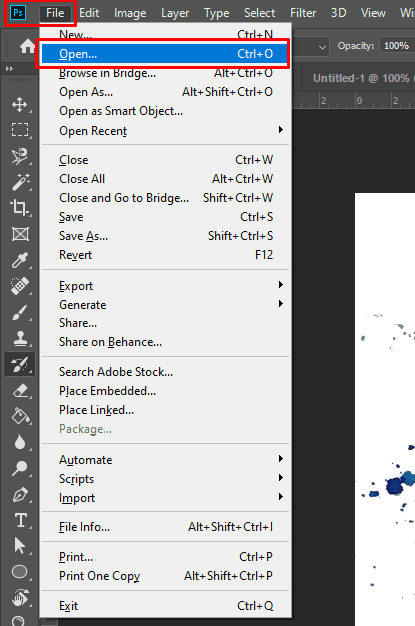
First, select an image that includes the objects you want to turn into a brush. The object should be clearly visible in the image so you can turn it into a brush flawlessly. Open Photoshop and press Ctrl+N to create a new document.
Select the Object Area
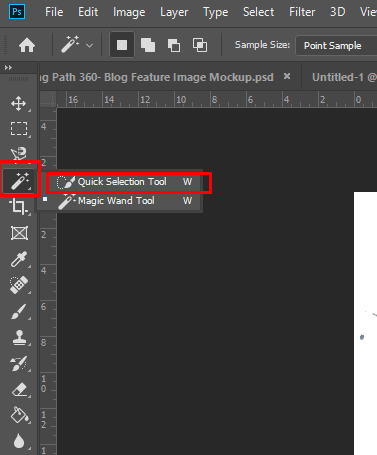
With the image opened in your Photoshop window, head to the toolbar and select the quick selection tool.
Then move your cursor to the object area, and it will automatically select the object and create an outline around that. Selecting the object area with quick selection tool, copy the selection by pressing ctrl+C, and then paste it into a new document with ctrl+V. The rest is similar to the process described earlier.
Turn the Image into Brush
This is similar just like we make custom drawing into brushes in the above. Go to ‘Edit’ option in the above menu bar and select ‘Define brush preset.’ It will automatically turn the image into a custom shape.
Final Words
Finally, it’s fun playing with Photoshop brush tool, drawing custom brushes, and making images into custom brushes for your need. As we have seen above, creating custom brushes in Photoshop is a simple task. With the above Photoshop customization technique, you can turn anything into a custom shape and use it in your designs.
FAQs
Here are some FAQs to give you more insights about this special Photoshop technique.
How to Turn Your Logo or Text into a Photoshop Brush?
Open the logo or text in a new Photoshop document and select the logo with selection tool. Go to edit > Define brush preset. Jump into the document and select brush tool, you can now see the logo or text turned into a Photoshop brush instantly.
How to Make a Brush Stamp in Photoshop for Watermarking?
Making a brush stamp in Photoshop for watermarking is similar to the process we have seen above. You just need to find the object or image you want to use as a watermark and then hit the ‘Define brush preset’ option to make it a brush.
Where Do You Go to Create Custom Brushes in Photoshop?
There is no hidden functions to create custom brushes in Photoshop. You can see all the brush settings by clicking the brush option from the left menu bar.
How to Make a Text Brush in Photoshop?
To make a text brush in Photoshop, open an image with white background holding the text. Select the brush option > Edit > Define brush preset, and boom, you can see the text turn into a brush preset which you can use anywhere you want.
How do I Import Presets into Brushes?
You can import brush preset files with .ABR extension in your Photoshop. To find the option, just go to the top right corner and click the menu, you can see a dropdown menu appear with the option ‘Import brushes.’ Though this you can easily import .ABR file type as brush preset. If you are using Photoshop version older than 2019, go to Edit > Preset > Preset manager and open the preset you want.


