How to Edit Multiple Photos on Instagram After Posting
Contents
Instagram is an amazing platform for sharing your thoughts, photos, and experiences with the world. That said, it’s also easy to get carried away and share too many photos of an event or day. With Instagram Stories, you can share just one photo at a time—and that’s not the only way to edit multiple Instagram photos after posting! Here are some ways to edit multiple Instagram posts.
1. Start with a good shot
Even the finest filter can’t hide a bad picture, so start with a good one.
Natural light is usually better, but when photographing in low light, close up, or outdoor photos, utilize your smartphone’s HDR setting and remove unwanted objects from the background.
Another hint? Take lots of photos so you have alternatives when posting time comes.
If you’re short on time or ideas, consider altering stock photos. There is an abundance of free, high-quality stock photographs available.
Start with an Instagram-friendly photo. No matter how much you edit your photo or video, it may seem fuzzy or grainy. Undoing a post is impossible. The best photos are at least 1080 pixels wide. A square photo on Instagram is default, however you may modify the width or height.
2. Upload photo to Instagram
Open Instagram and tap the + sign in the upper right.
This will bring up a posting menu. Select publish, then select a photo from your collection Next.
3. Pick a filter
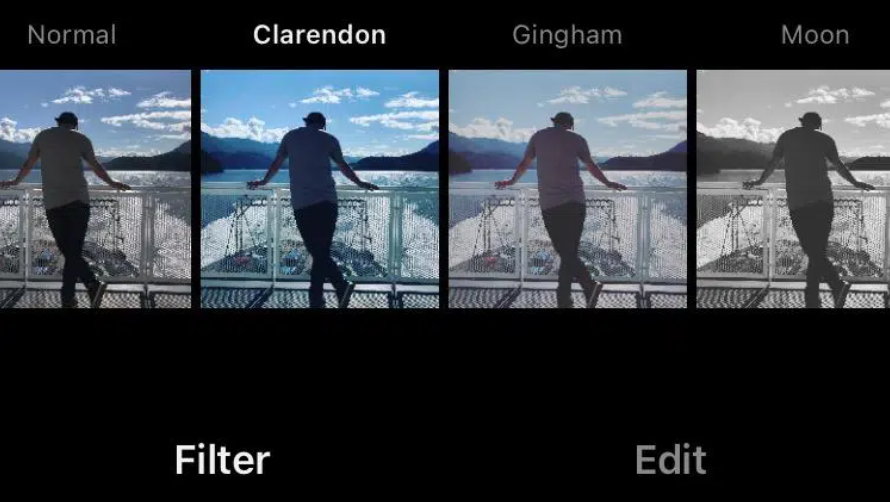
You may use these filters to change the image’s lighting, colors, contrast, and sharpness.
For example, “Gingham” makes your photo seem flat and muted, while “Inkwell” renders it black and white. Tap each filter to see how it looks on your shot.
According to Lifewire, “Claredon” is the most preferred filter for a cooler, more natural look.
Tips: To alter the intensity of any filter, tap it twice and slide the slider from 0 (no effect) to 100. (full effect).
But now, most pro Instagram users want to customize their own visual balance instead of using filters. That leads us to Instagram’s “edit” feature…
4. Edit your photo on Instagram
Right at the bottom of the screen is a “Edit” tab. Tap it to edit options:
- Adjust: Use this to correct your shot or change the viewpoint.
- Brightness: Adjust the image’s brightness.
- Contrast: A slider to increase or decrease the contrast between dark and light areas of the image.
- Detailing: Improve the photographs’ detailing.
- Warmth: Slide to the right to warm things up, or to the left to chill them down.
- Saturation: Change the color intensity.
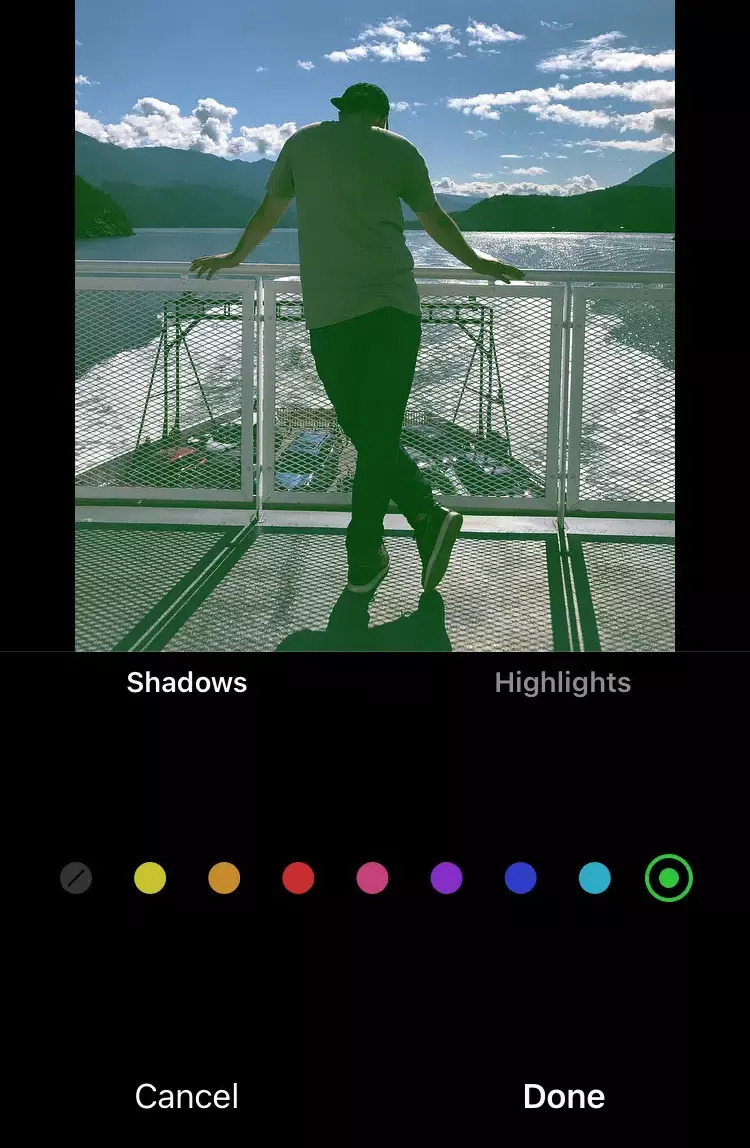
- Color: Add a color to the photo’s shadows or highlights.
- Fade: Use this technique to make your shot appear washed out by the sun.
- Highlights: Lighten or darken the image’s highlights.
- Shadows: Lighten or darken the image’s shadows.
- Vignette: Use the slider to darken the photo’s edges, making the picture in the middle appear brighter.
- Use a “radial” or “linear” focus point and blur the rest.
- Sharpen: Improve the details. (How is this different from structure? Unclear.)
Advice: A magic wand symbol appears at the screen’s top. Tap it to bring up the Lux tool, which lets you adjust the exposure and brightness.
After editing, hit Next in the top right corner.
If you’re short on time or ideas, consider altering stock photos. There is an abundance of free, high-quality stock photographs available.
Start with an Instagram-friendly photo. No matter how much you edit your photo or video, it may seem fuzzy or grainy. Undoing a post is impossible. The best photos are at least 1080 pixels wide. A square photo on Instagram is default, however you may modify the width or height.
Read More: How To Create Clipping Path In Illustrator?
5. Edit individual photographs in a collage
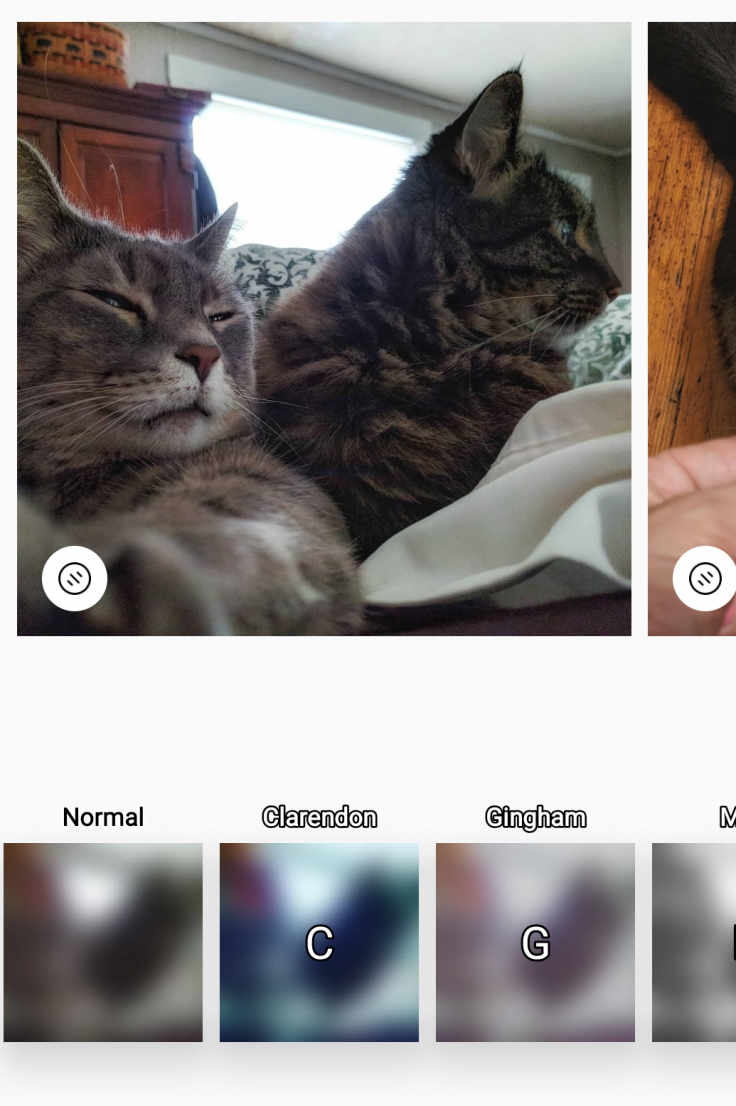
You may modify each photo independently if you’re posting a carousel. Tap the Venn diagram symbol on the photo’s bottom right to access individual editing options.
If you don’t, Instagram will apply your adjustments uniformly to all photos. Editing multiple images shot in different settings or with different themes is beneficial.
6. Upload a pic (or save it for later)
Write your caption, tag people or places, and share it with the world.
It’s done! You retouched Instagram! Now everyone can see!
Alternatively, you may save your image and adjustments as a draft by tapping the back arrow twice.
The best Instagram photo editing tricks: Beyond the basics
To improve your Instagram photographs, you’ll need to work on them before you ever enter the program.
Here are a few methods to make your photos stand out.
Straighten up and focus
If your camera wasn’t completely level or if a stray bit of trash sneaked into the photo at the margins, the straighten and crop tool can help.
When retaking the photo isn’t an option, use this tool to improve your composition. A decent guideline? Your shot is perfect if the horizon is straight.
Detail tidying
Use your preferred editing app’s spot removal feature to clean up your photographs before color correction.
Cleaning up distracting elements, whether it’s eliminating crumbs from your food photo’s table or deleting a pimple from your model’s face, will make your shot appear more polished.
Consider the grid.
Want to make a grid that’s on-brand? Uniformize your tones, whether they’re warm and old, bright and neon, or lovely in pastel!
Editing tools mash-up
This is a fantastic tip.
No one says you have to use one editing app. Use both programs to get your shot just right before uploading it to Instagram.
Check out this video:
Frequently Asked Questions
Can you delete one photo from multiple photos on Instagram after posting?
Follow these procedures to delete an undesirable photo from an Instagram post containing several photos:
Open the multiple-picture or carousel post in which the undesirable photo is included.
Select “Edit” from the menu by tapping the three-dot symbol at the top.
Do not choose “Delete” because this would remove the entire post.
Can you delete a single photo from a carousel post on Instagram?
Step 1: To update a carousel post, tap the three dots in the top-right corner.
Step 2: Select “Edit” from the drop-down menu.
Step 3: On your carousel post, swipe from right to left to find the image or video you want to delete.
Step 4: In the top-left corner of the image or video you wish to remove, tap the trash can symbol.
Can you add pictures to an Instagram post?
Adding new photographs to an Instagram post is a straightforward process. You may add another photo after you’ve completed writing your message by tapping the “+” sign in the bottom left corner of the screen. You may then choose a photo from your device’s photo collection to upload.
Why can’t I add multiple photos to my Instagram post?
Because you may not have the most recent version of the app, or because there is a bug or technical difficulty, you may not be able to upload several photos on Instagram. You should be able to upload multiple photographs again after updating or reinstalling the app.


