
How to Edit Pictures on Photoshop
Contents
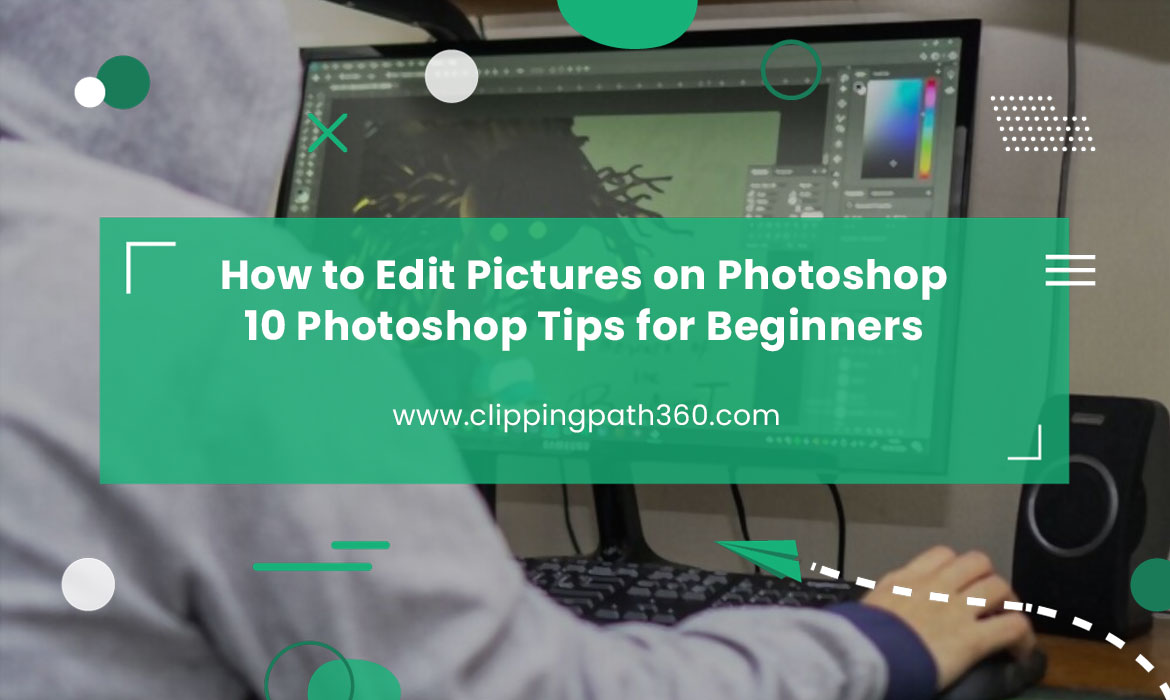
Have you ever wanted to edit a photo but didn’t know where to start? Well, you’ve come to the right place. Here are 10 tips for beginners on editing photos using Adobe Photoshop.
Import Images [Edit Pictures on Photoshop]
The first thing you will need to do is import your images into Photoshop. Open up File > Import > JPEG Files. Browse the page for the folder of photos you want to import into Photoshop. The images will appear in a “My Images” folder inside the “Digital Files” folder. Select the images you want to edit from the gallery.
Resize the images in Photoshop. Adjust their Brightness, Contrast, Color, and Rotation In the command palette, select “Window > Selection” > Rotation, “Fit” and “Fit to Screen”. Select the image you want to adjust. Replace Duplicate Images Duplicate multiple images that you want to use in your finished photograph and replace them with a single copy. Select the two duplicate images. In the command palette, select “Window > Selection” > Duplicate > Yes.
Crop and Straighten Images [Edit Pictures on Photoshop]
This tutorial will show you how to crop an image and straighten it to perfection. Remove Reflections This tutorial demonstrates how to remove reflections from a portrait image. Adobe Photoshop Tutorials – Grunge Text Tutorials Grunge text is popular with web designers because it allows them to make a website look old, rundown and grungy, but doesn’t actually look like that.
You can add grunge text to your designs with Photoshop. The basics of cropping and adjusting perspective for text In this tutorial, you will learn the basic techniques to place text within your canvas. Exploring Color in Photoshop In this tutorial, you will learn to edit two different types of colors in Photoshop.
Adjust Brightness and Contrast [Edit Pictures on Photoshop]
Remove Noise Contrast & Brightness Calibration To remove background noise you need to first calibrate the image. I often use a setting on the DPI calculator on my laptop to do this. To find it use Cmd/Ctrl + F6 or Cmd/Ctrl + Shift + F6. Once calibrated, increase the Brightness/Contrast to 100% on each axis. This will increase the contrast and give the image a more professional look.
Clean Up Using the Selection Tool and your Lasso Tool select all of the “in” edges, and paste them into a New Document. Use the Adjustment Brush, then click and drag on the top row of the Selection Tool (slices), and then click and drag on the bottom row (slices). Make sure to go left/right, then use the Control/Option keys (top row: left, bottom row: right) to blend the selection with the brush.
Adjust Color Curves [Edit Pictures on Photoshop]
Color curves are made to calculate how colors should look in an image. Color curves can take many different values and should be tweaked based on the skin tone of the person being photographed. Adjusting color curves can help make an image look more natural. Rotate Pictures If you’re a novice Photoshop user, the Rotation tool is definitely something that can come in handy.
If you rotate a picture at a 90-degree angle, it will be easier to see the faces of people in the picture and your cursor will also move around. Choose Artistic Batch Size Use quality photo editing software to edit a small number of pictures in a batch. Set a batch size of 4, 8, 12, or 20 and add one layer to the image. You can remove multiple colors (buttons) or tweak different aspects of the picture.
Adjust Hue and Saturation [Edit Pictures on Photoshop]
It may seem like a basic thing, but adjusting the hue and saturation of a photo can do wonders. Especially if the photo is white. Check out the step-by-step guide on how to do this here. Choose the Right Color, Hue, and Saturation When you have chosen the correct color of the photo, the next thing to do is to select the right hue. How can you do this? I’ll tell you.
You can either select the exact color in the color swatch or use a color picker tool that comes with Photoshop CC. Do a Color Tint Next, you can do a color tint. This is when you manually tint the colors in your photo so that you can make it look warmer. Try the following example. Check the Contrast Finally, make sure that the contrast is correct. Check out this article for more information.
Add a Photo Filter [Edit Pictures on Photoshop]
There are hundreds of photo filters that are available on the market. It is a quick way to turn a dull picture into something more appealing. 3. Adjust the Exposure Adjust the exposure. Here’s how: Go to Edit>Adjustments>Exposure and adjust the sliders to get the best exposure you want. 4. Change the Colors Closing your eyes and trying to describe what the picture is really about is not very useful.
So, we decided to help you out. Here’s how to change the colors. Go to the Window>Colors>Color. Check the box next to “Darken skin tones”. Click “OK”. 5. Black and White Image Go to the Window>Colors>Blacks and whites. Click on the option labeled “Look Black and white”. Check the box next to “Add logo to the black and white image”. Save the image. 6.
Remove Red Eye from Photos [Edit Pictures on Photoshop]
This isn’t the type of thing you normally do every day. Most people just like to leave their photos as they are because they don’t want to deal with the hassle of removing red eyes, but this is one area where you’ll need to be more vigilant. Most of the time when you’re looking through your pictures, your eyes will probably be fixed on the people in them, especially if it’s family photos.
Don’t miss those little imperfections. It will only add to the charm of the photo. Using the Blur Tool and the Border Tool The blurred tool can give you a photo that looks like it was painted in, but that is not always the case. Sometimes if you do a blurring effect and it looks too fake and doesn’t capture the real colors properly, then it might be too far off to the side of being right.
Create a Vignette [Edit Pictures on Photoshop]
Creating a vignette (also known as highlight-shadow) is simple in Photoshop. Simply create a linear gradient by selecting “blend mode linear” and then apply it to your picture. Then, just select the picture and hit the “vignette” button at the top of the Layers Panel. It should now change to show an outline around the photo. Go ahead and drag it down so it’s barely visible. It should fade into the photo in just a few seconds.
Export as Layers If you want to crop your photo without opening Photoshop, you can export your pictures as layers instead. Just make sure you do it in the same folder as your picture. You can select the layer on the left in the Layers Panel and select “Export Image as Layers.” Step 1: Select Layer Select the layer you want to export in the Layers Panel.
Create Instant Grunge Look to Photos [Edit Pictures on Photoshop]
Got some grunge? Everyone needs one in their wardrobe! This editing technique, which is quite difficult to achieve, will instantly give you a grungy look in your photos. All you need to do is fix the color of the sky and set your camera to white balance. As for the rest, you’re set! Add Emotions to Photos This tip is for beginners who are still learning photography and who want to add some emotion to their images.
When adding moods and emotions to your photos, there are several techniques that you can do. One of these techniques is to use shadows. This technique is quite simple and you will be surprised how much of a difference you can make by using this technique.
Conclusion
Photoshop is a powerful tool that many professionals rely on to produce high-quality images. But, it’s not all about complex techniques. Like any other tool, you can learn Photoshop and make use of its features to create a great piece of art. Whether you are learning Photoshop as a beginner or a pro, we hope this Photoshop tutorial series will be useful to you.


