
Adobe Photoshop as a feature-rich tool can do literally everything your creative mind desires. Because of so many features, it can take time to learn about all the options. Even a lot of options remain unused.
When it comes to changing an image, there are many ways Photoshop has to offer. Bending or curving a photo is one of them. However, how to curve an image in Photoshop?
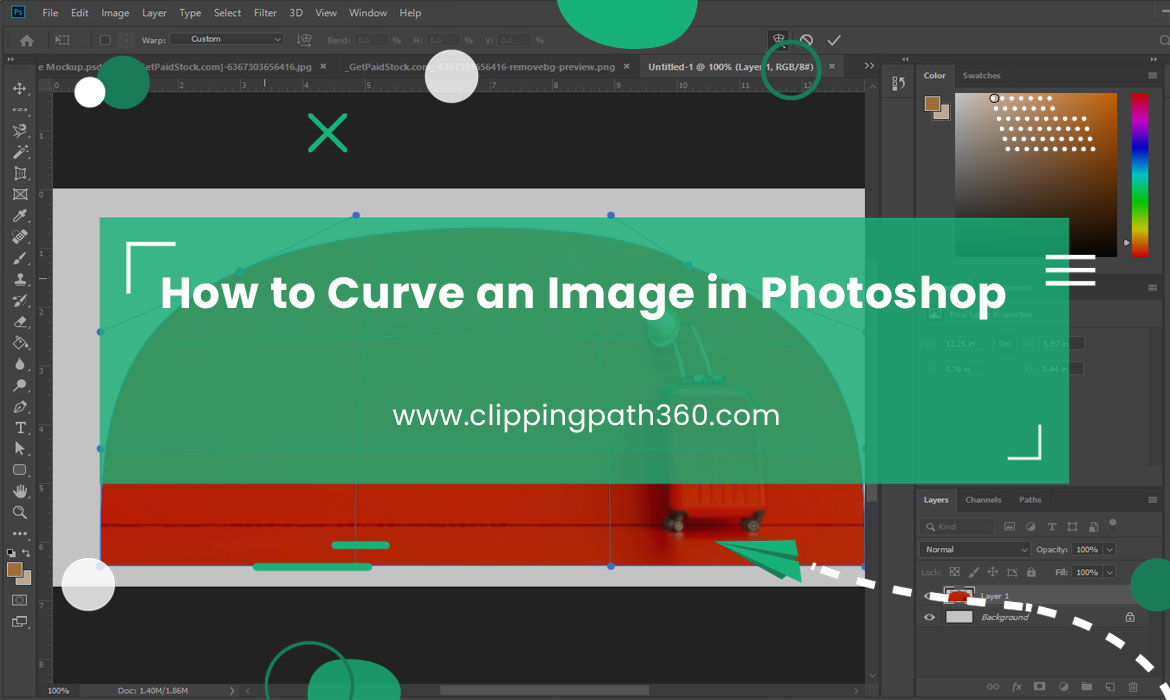
There are varieties of tools used to curve an image in Photoshop. The Warp Tool is the most powerful and easiest tool available in Photoshop CC’s Transform’s option. Warping provides a unique warped look to any image.
This tool manually controls where and how layers are curved. Moreover, the Warp tool provides many options like controlling the amount and direction of the bend. You can control bend segments in two different directions.
There is more to learn. You’ll learn how to bend an image in Photoshop through the article.
Don’t have time to go through the article?
Here is a simple to use guide to curve an image in Photoshop. Follow the steps below for a Photoshop curve image.
- Click on the image layer
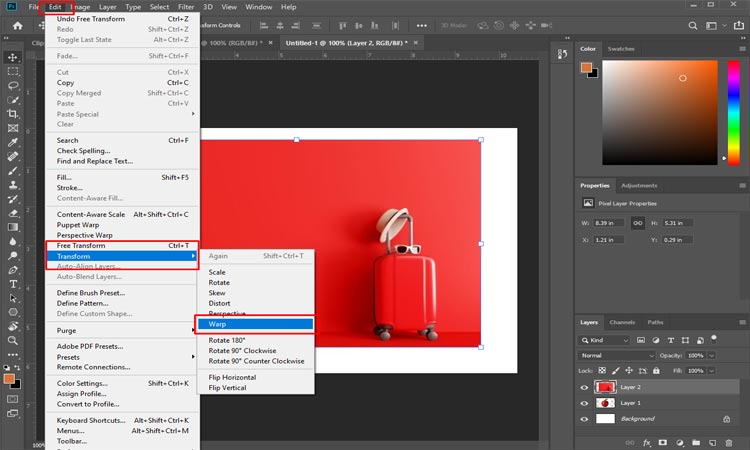
- Then, click on select image > Transform > Warp
- Click and drag on the provided grid lines
Thus, you can curve or bend an image according to your choice. Note that this is a primary way how to curve an image in Photoshop to manipulate your images. There are more effective ways to curve an image which we’ve included in this article.
How to Curve an Image in Photoshop?
Contents
In Photoshop, it is easy to curve an image, so it looks like a bent piece of paper. The Warp Tool is the way to manipulate and bend images through a grid-like system of control points.
Before we get started, launch Adobe Photoshop CS5, then create a new document where your image will be placed on. Choose an A4 document preset and a horizontal page alignment so you get enough space to curve an image.
How to Curve an Image?
- Go to the File > Place Embedded to add your image to the new document.
- Photoshop automatically converts the image into a smart object when the image is inserted. This is good for further editing on the image with any functional effects.
- Then, choose the layer you want to warp in the Layer panel.
- Before you start with the bending process, the image is required to rescale to fit your preferred size. If you want to add a border, downsize the photo. To do so, click on Control+T on Windows. Click and drag the handle inwards on the upper-right to your desired size.
- You can enable the Warp Tool by right-clicking on the image and choosing Warp.
- At this point, many small points will appear around the image, which are called anchor points. There are also control arms. It means the Warp Tool is activated. You can move these in any direction by clicking and dragging them to warp the image.
- If you want to get control of the warp adjustments, you can change the grid settings. Click on the grid menu located in the Options bar. It will add split lines on the image, which you can move around to warp the image. In a 4×4 grid, there are 4 horizontal and 4 vertical split lines.
- Now move the anchor points and handles to warp the image. Also, you can click and drag split lines to distort the image.
- If you want to change the image viewpoint, again click on Control+T. Then, hold the anchor point on the top-right and drag it to the left a little while holding Control + Shift + Alt.
- Now you are done with warping. If you want to add some effects now, a Stroke and add a drop shadow. So, it will look more like a printed photo.
Need to curve an image? Click here
How to Warp a Selective Portion of an Image in Photoshop?

Following the methods above, you can warp a whole image. But if you want to warp only a portion of an image, there are many ways you can do it. Below we will use two effective methods to warp a part of an image in Photoshop.
1st Method: Manually
You can manually select the portion of an image that you want to warp. Select around that portion if you’re going to bend a part of an image. Then, apply the warping process to that portion.
Let’s say a picture where there is a clock on the table. Now you want to bend clock pointers and numbers only, not the other parts of the clock. You can bend that part using any selection tool, for example, Magnetic Lasso Tool.
After you select a specific part, click on Edit > Transform > Warp. It will show gridlines in the selected area. You can change the split lines on the grid-like we mentioned above.
Choose the grid lines you desire and start bending the clock’s pointers and numbers using the Warp control arms. Once you are done with warping, click on “enter” to confirm the modifications.
2nd Method: Use Split Warp Tool
Using the Split Warp tool is another way to warp a portion of an image. This way, an image gets divided into two parts. You want to distort one part while the other you want to keep intact.
First and foremost, open the image you want to bend. Click on Edit > Transform > Warp. Select a grid size as you like. Let’s say you want to warp an image containing pear where the left pear looks smaller than the rest.
You want to make it look bigger. To do so, right-click on the image and select “Split Warp Vertically.” Then, activate the split lines from the Options Bar. After the split lines become visible, move the lines around until the pear looks bigger.
Once you are done, click on “enter” on the keyboard.
Final Words
That’s how to curve an image in Photoshop. Once you master curving an image, you’ll find more tools and effects to make the warping effect looks good. However, pay attention to the details while curving. With these bending tips, curving an image will be easy as pie! So, happy editing.
Follow this video:
Frequently Asked Questions
Can you send an image in Photoshop?
Of course, you can. Adobe Photoshop is a tool that contains a range of features. You can modify your image in many ways, and bending is popular among them. With the Warp Tool, you can send an image in Photoshop.
How do you curve a picture?
To curve a picture, you need to use Warp Too. Click on the image> Transform > Warp to activate the Warp Tool. Then, follow the guidelines mentioned above to curve your picture.
How do you warp an image in Photoshop?
In Adobe Photoshop, you can use Warp Tool to warp an image. The process is the same as we mentioned. First of all, activate the Warp Tool and then add grid lines. Click and drag on the grid lines to warp an image.
How do you make a curved image straight in Photoshop?
When you click a picture, it turns out a bit curved most of the time. Thankfully, Photoshop allows straightening the image with a few simple steps. Here they are:
- Click on the “Measure Tool” in the Tools palette.
- Click and drag along the edges that you want to straighten.
- Go to image> Rotate Canvas > Arbitrary. Choose the angle and direction you want it to rotate.
- Hit on the “Ok” to rotate and straighten the image.
- Crop the image using Crop Tool.
How do you use the Liquify filter to curve an image?
To use the Liquify filter to curve an image, first open the image in Photoshop and select the “Liquify” filter from the “Filter” menu. This will open the Liquify dialog box. Next, select the “Forward Warp” tool from the toolbar on the left side of the dialog box. Use this tool to push or pull parts of the image in the direction you want to create the curve. You can also use the “Reconstruct” tool to smooth out any areas that may have become distorted as a result of warping the image.
Can you adjust the amount of warping in the Liquify filter?
Yes, in the liquify filter you can adjust the amount of warping by adjusting the brush size and brush pressure in the options bar at the top of the screen. Also you can change the strength of the effect by using the brush options, density, rate and pressure.


