
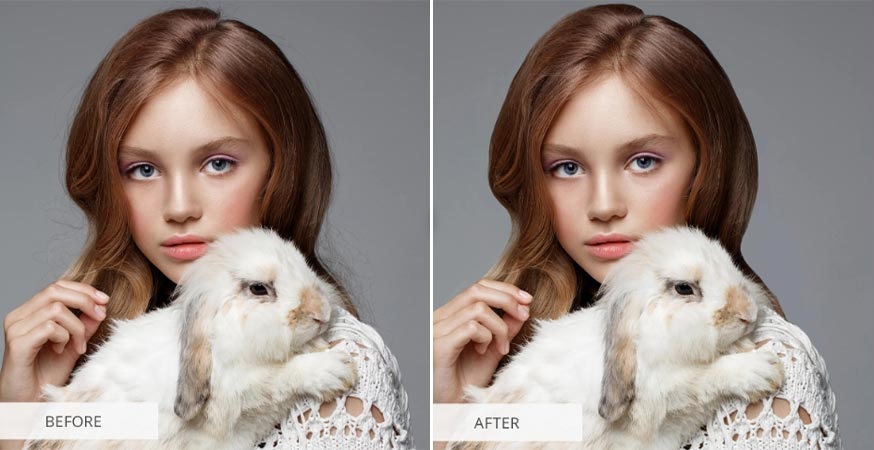
Want to get rid of stray hairs but don’t know how to remove stray hairs in photoshop? Well, then this article is the right one for you!
Getting an undesired contour around the picture hair is a common phenomenon we tend to face, especially during an outdoor photo shoot. Luckily, photoshop is here to the rescue with its beautiful image editing features.
The steps are pretty easy. You just need to know and follow the steps properly, and you will be able to remove all the stray hairs in photoshop like a pro!
Without further ado, let’s get started:
How to Remove Stray Hairs in Photoshop?
Contents
Photoshop offers a number of options to remove the stray hairs from your snaps. Here, we will show you the three easiest and most effective ones. So you can do the entire work quickly and comfortably like a professional by the end of this article.
Follow any one of the below-listed methods that seem easier and more convenient to you to get into business right away:
Method 1: Classical Hair Removal in Photoshop Technique
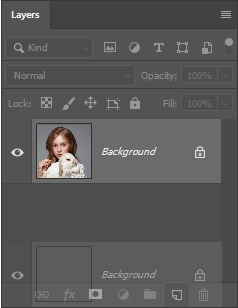
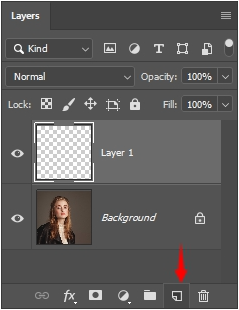
Step 1: Make a copy of the layer.
Select the “Background” layer and press the button Ctrl + J (Cmd + J).
Make sure you modify Copy only, not the Background layer.
Read More: Copy a Layer Mask in Photoshop Elements
Step 2: Find Healing Brush Tool
Find the healing brush tool at the leftmost corner of the toolbox. Simply click on the “J” button. At the topmost part of the workspace, you will find the brush settings. Based on your need, you can do any kind of changes from here.
Such as, the picture looks appealing with an opacity of 100%. You can lower it if you want. Keep the changes that give an eye-catching look according to you.
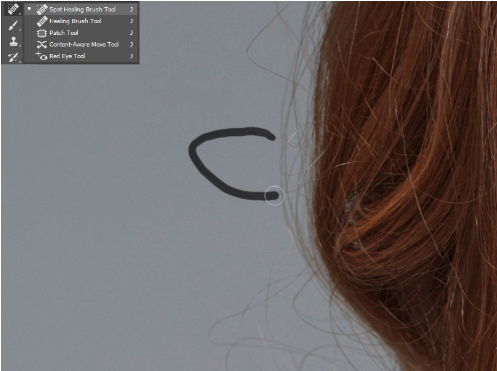
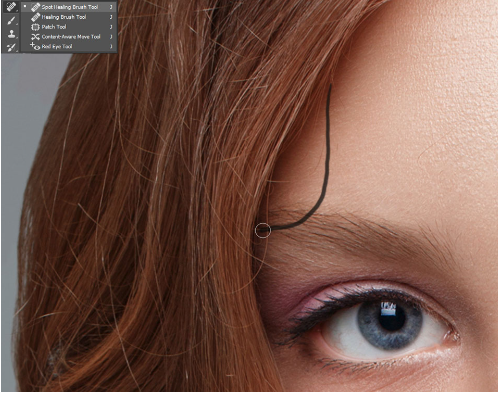
Step 3: Mark the stray hairs
Here, we will give a sleek and flat outlook on the hair. Zoom in on the image and start processing the way you want to. Increase the brush hardness if necessary.
Don’t fear to make the changes, as you can still undo them until you get your desired result.
Step 4: Completed! Analyze the outcomes
That’s all you need to know to remove the straying hair from snaps in Photoshop. The outcome is immediately clear, resulting in a crisper, sharper, and hairless image.
Method# 2: Using the Brush Tool in Photoshop to Remove Hair
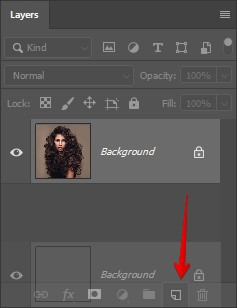
Step 1: Make a fresh layer
Create a new layer to prevent damaging the orginal image in any way. Now, click on the new layer icon. You will find this icon in the below part of the Layers panel.
Shortcut: For Windows, use the shortcuts Shift+Ctrl+N; for Mac, click on Shift+Command+N.
You can return and adjust any steps or modifications needed to get that perfect look with a new layer.
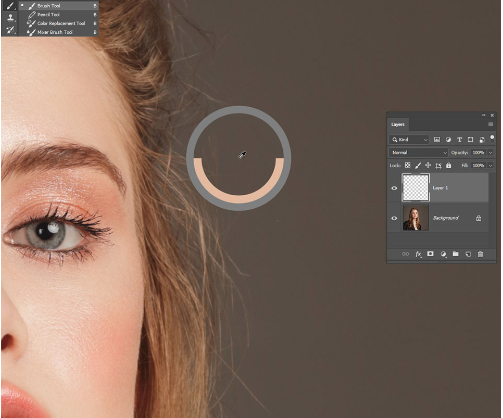
Step 2: Use the Brush Tool
Select the Brush tool (B) located at the right part of the toolbox. Now, adjust the opacity and hardness.
Hold the ” Alt ” button while focusing on the area you want to cover. One thing to note is no matter how solid your background gets; it will have numerous shades. Therefore, ensure that the region you are sampling is close to the flyaway hairs.
Step 3: Mark the hairs
Next, you have to remove all the extra hairs. However, do this step with proper caution. Once the hair gets the flawless look and is in an ideal position, save the photo for future usage.
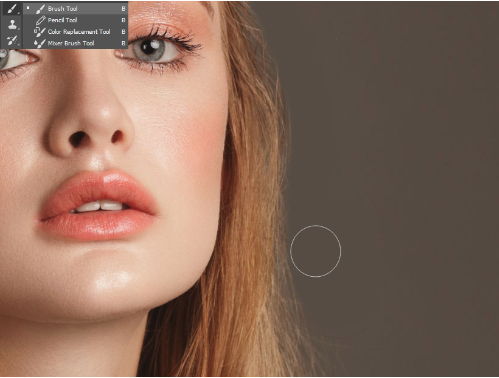
Step 4: Completed! Analyze the outcome
Voila! No more straying hairs! See how easy it is to remove it in Photoshop. Well done. Now, let’s see the final outcome.

Method# 3: Using Liquify to remove hair in Photoshop
This method will not help you with removing the flyaway hairs but, at the same time, will enable you to change the hairdo and add volume, giving it a more glamourous look.
Step 1: Create a duplicate Layer
Start by copying a clone of the layer. Select the “Background” layer and press shortcut Ctrl + J (Cmd + J). Do not modify the Background Layer but only the Copy.
Step 2: Go to Liquify
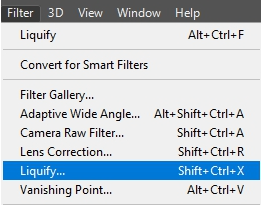
Go to the “Filter” and select the “Liquify” option from the drop-down menu.
Shortcut: “Command+Shift+X” or “Shift+Ctrl+X.”
Step 3: Use the warp tool to remove stray hair
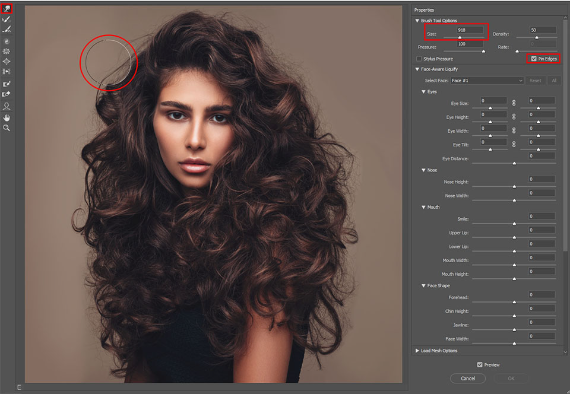
At the top of the screen, you will find the Forward Warp Tool. Select it and make the necessary adjustments based on the requirements.
To achieve greater accuracy, you can use a medium-sized brush. Don’t forget to choose the box lying next to “Pin Edges.”
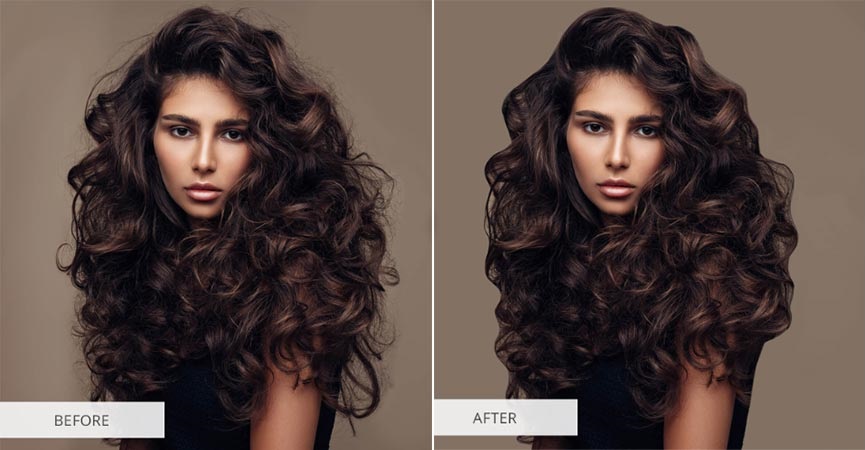
Step 4: Done! Compare outcomes
Now you are done! You have effectively removed all those disturbing flyaway hairs. Easy-peasy!
To Wrap Up
That’s all from the discussion regarding “how to remove stray hairs in photoshop?”
All of the above-mentioned listed methods to fix stray hairs in photoshop are extremely easy and worth giving a shot. No matter which one you follow, rest assured you will get a flawless look. Just have to follow the steps as instructed.
So, what are you waiting for? Now is the time to do some experiments and tweak settings according to your needs to get the final look you are aiming to get. With some practice, you may become a pro and start editing and removing stray hairs in Photoshop in just a matter of time.
Follow this video:
Frequently Asked Questions
Can you remove hair in photoshop?
Of course, you can remove the hair using the Spot Healing Brush and Clone Stamp Tools, available in Photoshop, to help you with the process. These two tools are so good that with their help, you can erase any facial traits from the new Copy we don’t want in our original picture. For instance, wrinkles, hair, and creases.
How do I get stray hair out of a picture?
For eliminating a big cluster of stray hairs, there is just no alternative to using a medium-sized brush. To hide the flyaway hair, click and drag the areas covered with the flyaway hair. If the lightroom doesn’t pick the ideal source to replace the stray hairs, you can always adjust by clicking and dragging until you get your desired outcome.
How do you get rid of fuzzy hair in Photoshop?
- Step1: Open The Image & Apply Clone Stamp Tools.
- Step2: Let’s start to paint all over the excess flyaway hair.
- Step3: Add a Mask to the layer that you create.
- Step 4: Do any unwanted painting over excellent hair.
- Step5: Pen Pressure.
- Step6: Refining your Work.
- Step7: Check the Results.


