

Online shopping is all about faith. Customers here buy anything without touching or feeling the product. Basically, they have no option left but to rely on the product photos. Product photos can significantly affect buyers’ purchasing decisions.
The saying “A picture is worth a thousand words” is absolutely true in this case. However, it is equally essential for online sellers. If you are an Amazon seller, you must know how to take product photos for Amazon.
A high-quality image can display your products in the best way possible. Besides, it’s an ample opportunity to generate sales. A great photo creates a good impression of your products.
So, are you about to launch your product in your newly-started Amazon online store? You might be wondering how to make your product stands out from the competition. Don’t fret; we’ll tell you how to take pictures for Amazon listings.
How to Take Product Photos for Amazon?
Contents
Amazon product photos are key to getting higher rankings on Amazon SERPs. Not only on Amazon, each photo act as a deal clincher. So, the image should have a look and feel; otherwise, you’ll tend to lose sales.
Indeed, you cannot bring the experience of physical stores into this virtual world. But, high-quality Amazon product photos can provide as nearly real experience as physical stores. So, the product photos should include details about your product.
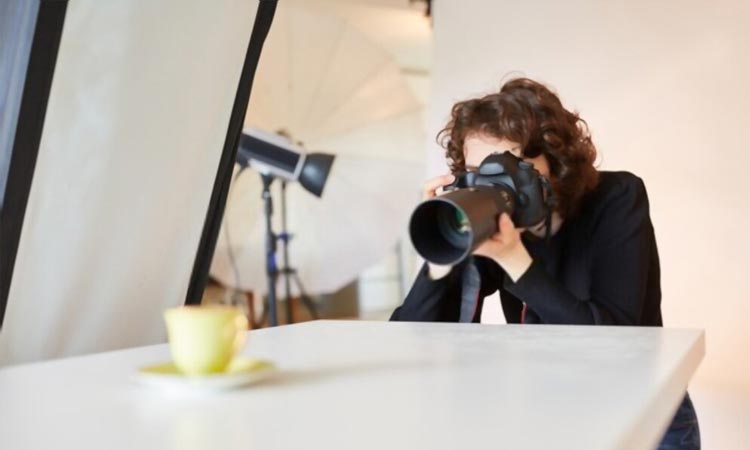
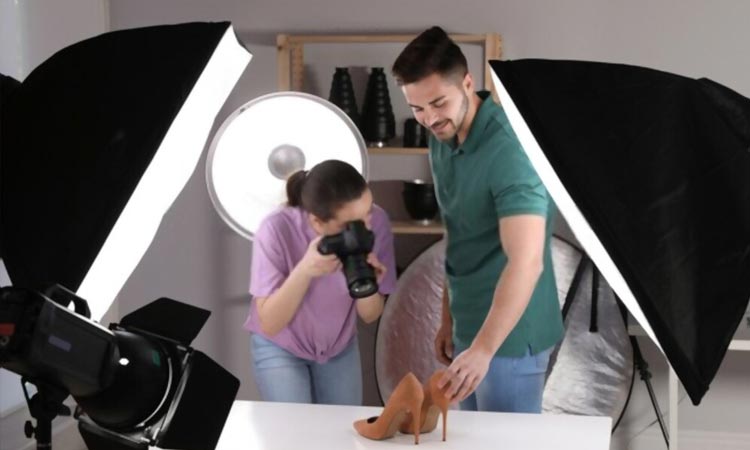
Many tend to step back from online shopping just because they cannot afford to hire a professional photographer. Don’t backtrack. You can turn your home into a photography studio and become a photographer yourself.
All you need is a spare bedroom, living room or garage, and some equipment. Plus, you must know how to use these best to take pictures for Amazon products. Let’s follow the guideline below to take great photos.
List of Equipment Needed
Taking pictures for amazon products requires some equipment. Below is the equipment you need for Amazon product photography.
A Good Camera
When you are starting an online business, it is wise to invest in a good camera. Evidently, you need to photograph tons of products. So, it is worth investing in a good-quality camera. A good camera does not have to be expensive.
Remember, a good camera won’t make your product look excellent. Many other factors affect the final result, such as; studio setup, styling, lighting, etc.
No matter which camera you buy, make sure it captures images of at least 1000 pixels. So, the photo loads appropriately on the Amazon site and does not get flagged.
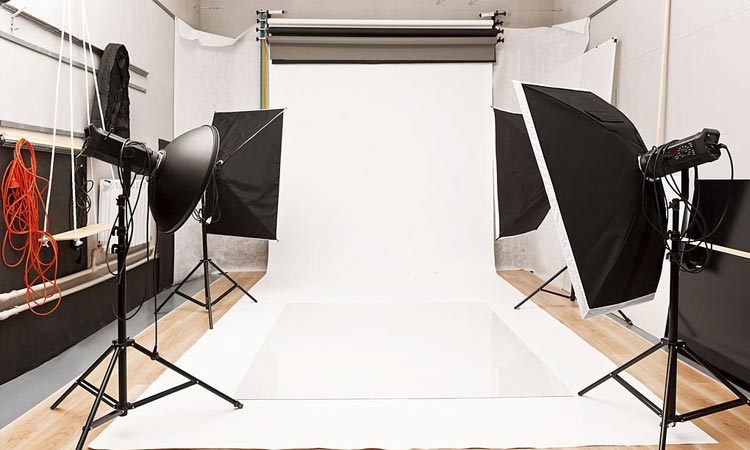
A White Background
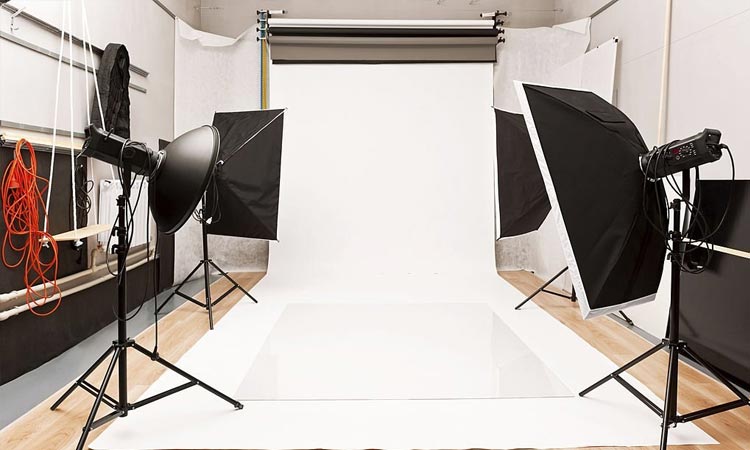
The white background is one of the crucial needs for Amazon photos. You can use a white paper roll to create white background for the product. Besides, a white paper roll will give you a smooth surface. You can store it easily after use.
Also Read: How to Change Image Background Color in Photoshop
We suggest using 10-15 feet long and 50-inches wide white paper rolls for medium to large products. So, you get enough background for the product. Nonetheless, a 4ft roll is enough for small to medium products.
Stand for White Background
A white paper roll will require a rig or stand to support the white background. You can buy an extendable version of the stand. So, it can support both four and eight-foot rolls.
A Tripod
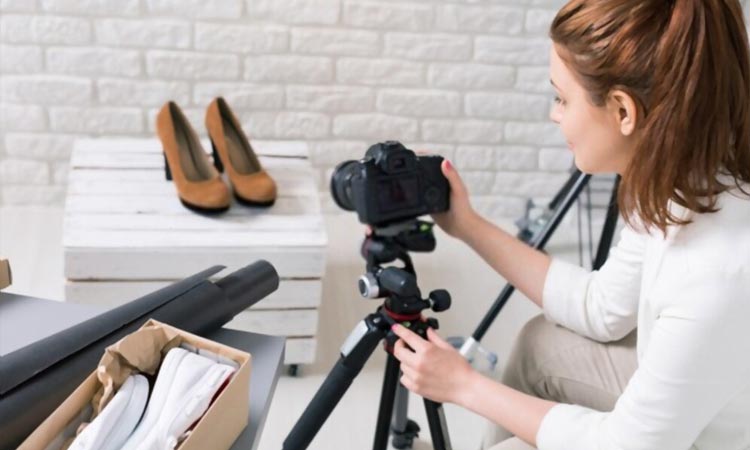
While shooting your product, you need to stabilize your camera. Herein, it is wise to invest in a good tripod. It gives a studio-like feel at home. Also, it ensures the camera doesn’t shake while you breathe or move a little.
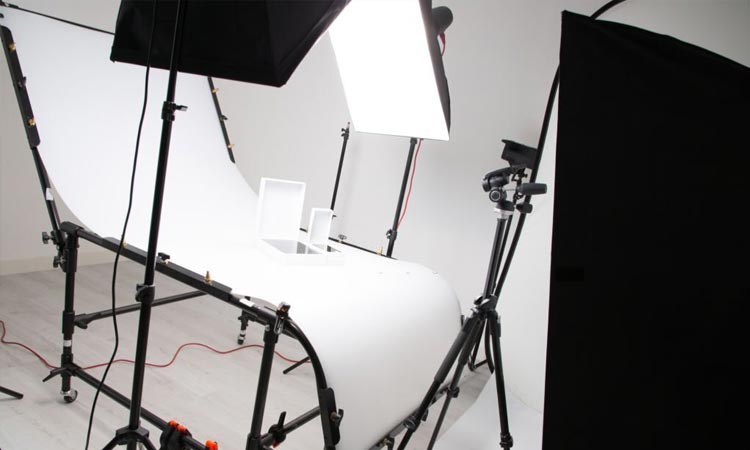
A Folding Table
A folding table is handy to keep the product and lay the white paper roll. You can capture the product from any angle by placing the product on the table. The table should be at least 4ft long to adjust the tripod.
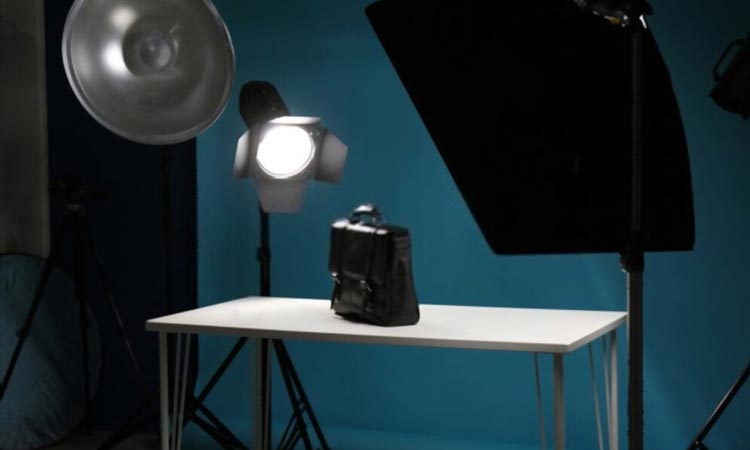
Artificial Light
When photographing at home, depending only on natural lights is not a good move. The lights at home are not enough for product photography, and the sunlight is inconsistent. As a result, your image will have varying exposures.
Artificial lights can solve this issue. You can use LED or incandescent lamps. Then, you need a flash, available in two types: flashgun and moonlight. We suggest buying a flashgun with a wireless trigger.
Softbox

Using only artificial lights is not enough to take quality photos. You’ll also need to diffuse the light so investing in a softbox is a good step. It’ll make sure your product photos look great and have more lighting.
Light Stand

You’ll need a light stand to support the lights while you photograph. Buy a light stand that is strong enough to hold the light and light modifier.
Clamp and Duct Tape
-

Clamp and Duct Tape

Along with all the crucial things above, you’ll also need some basic things. Take some clamps and duct tape rolls to secure the white roll with the table. It makes sure your product doesn’t move while shooting.
Step 1: Set Up the Table for Shooting
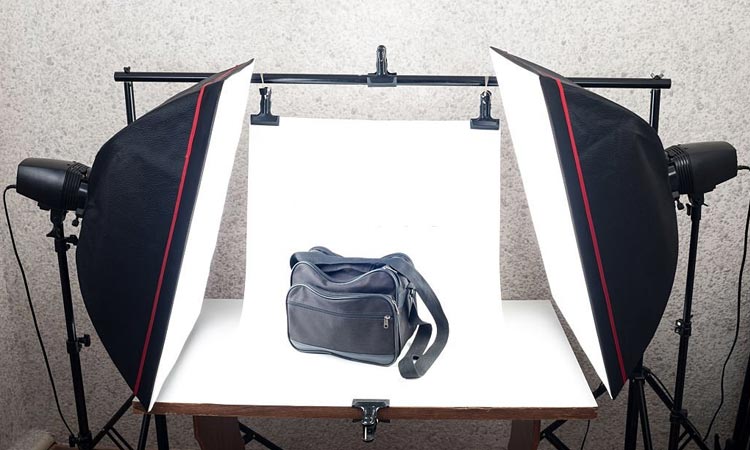
Get the folding table and place the white background stand behind the table. Roll down the white rolls until it covers the entire surface below the table.
Step 2: Get Your Product Ready
Now, make sure your product is all clean. Your photography setup may increase the quality of the image, but it cannot remove the dirt from it. Clean the product if it is dirty. You may use a microfiber cloth, makeup brush, or air bluster.
Step 3: Set Your Camera

Set your camera setting. Use manual mode so that you can adjust the settings as per need. Set the following camera settings and take a shot;
- ISO to 100 for minimal noise
- Choose aperture between f/8 to f/16.
- Shutter speed to 1/200th
- Set the flash to 1/16 power
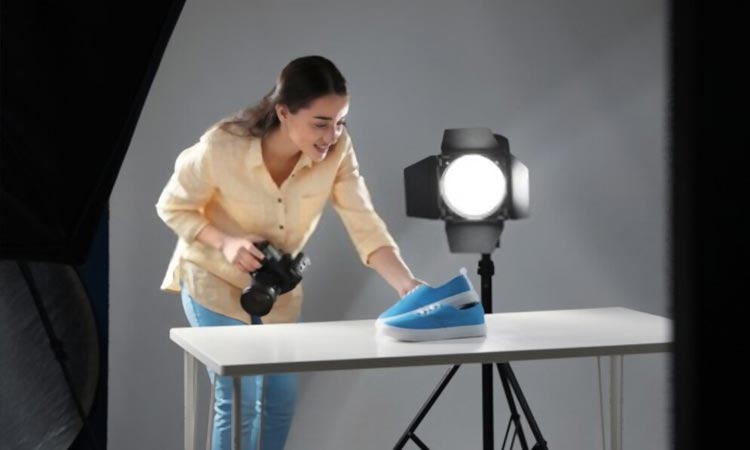
Step 4: Brighten the Product Equally
The Amazon product photos have to be equally illuminated. Hence, you need to make sure the lighting is on the nail. The product photo must show all the colors and dimensions. This way, the customer can understand what the product looks like.
Put the lights on the left of the product at 45o. This angle has been proven to brighten the product uniformly and minimize the unlikeable shadows. Not all the products are the same. So, adjust the lighting position until you get perfect lighting. Then, take a shot.
Step 5: Retouch Your Photos
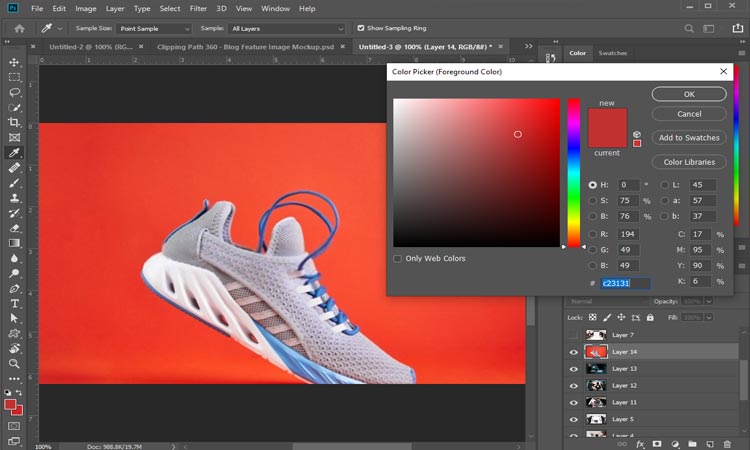
You’ll need to retouch the photo no matter how perfect a shot you take. You can either use Photoshop or GIMP for retouching. Isolate the subject to get a 100% white background.
Use either Object Selection Tool or Pen Tool in Photoshop. This way, you can cut out the product from its original background. Now place it on a pure white background.
The next step is to clean the product. You possibly have cleaned the product before taking a shot. Still, it is likely to gather dust. So, use the Spot Healing Brush Tool to remove dust automatically.
Last but not least, do not change the photo’s color while editing. The color should match the actual product color. So, your product photo is ready to upload on the Amazon site.
Conclusion
So, this is how to take product photos for Amazon. Taking pictures for Amazon products is extremely easy when you know the basics. Note that you should follow the Amazon product image requirements. Thus, you won’t have any issues while uploading photos on Amazon.
You can follow this video:
Frequently Asked Questions
How can I take product pictures at home?
- Use a smartphone camera with 12 megapixels or more.
- Shoot from a tripod to reduce camera shake.
- Use natural light from a window.
- Bounce light using a foam board to soften shadows.
- Use a sweep or close-up shots to highlight product features.
- Shoot a variety of angles and images.
Does Amazon hire product photographers?
A product photographer that specializes in working with clients who sell their items on Amazon is known as an Amazon product photographer. They are well-versed in Amazon’s picture rules and understand what it takes to create excellent listing photographs.
How do you capture product photos?
1. Don’t be scared to utilize the camera on your smartphone.
2. Use a tripod to ensure photo uniformity.
3. Decide whether to use natural or artificial light.
4. Soften shadows by filling or bouncing your light.
5. Highlight the merchandise with a sweep or portrait mode.
Are smartphones good enough for photography?
While cellphones are mostly used to keep in touch, their cameras are capable of rivaling specialized cameras, and developments in smartphone photography have all but supplanted point-and-shoot cameras that were formerly widespread.


