
In this article, you will learn how to stretch an image in photoshop. In addition, you will learn how to resize a selection in Photoshop. This fundamental technique can be used to resize a single image, a sequence of photos using automation, or a layer or selection inside a project.
Things to remember before you start:
- Make sure the image you want to stretch is high resolution. If the image is low resolution, stretching it will result in a loss of quality.
- Consider the aspect ratio of the image. If you want to stretch an image, you may need to crop some parts of the image to maintain the aspect ratio.
- Use the Transform tool in Photoshop rather than the Free Transform tool. The Transform tool allows you to stretch an image while maintaining the integrity of the image’s pixels.
- Use the “Edit > Transform > Scale” command in Photoshop to stretch the image. This will bring up the Transform tool, which will allow you to stretch the image by dragging the handles on the bounding box.
- Be mindful of the distortion that can occur when stretching an image. This can be especially noticeable in images that contain straight lines or patterns. If you notice that the image is becoming distorted, try adjusting the settings on the Transform tool, or use the Warp command instead.
- Be sure to save a copy of the original image before you begin making any changes. This will allow you to go back and make adjustments later if necessary.
- Always preview your changes before applying them, you can undo it if it not the way you want.
How to Stretch an Image in Photoshop
Contents
To stretch an Image or layer In photoshop select the move Tool by pressing V and selecting your selected layer in the layers panel to stretch an image or layer in Photoshop.
Next, while holding Shift, click on any of the anchor points around your layer. It will now extend in the direction you drag when you modify its size.
One of the most basic techniques of extending layers in photoshop is to use the Move Tool and the shift key. However, it frequently causes problems, especially when the canvas size does not match the new picture proportions. Instead, the three alternative solutions listed below will extend your photographs in a more efficient manner.
Option 1: Use Image Size To Increase Width Or Height
If you want to extend a picture, remember that if your canvas isn’t big enough, your image will be cropped if you stretch it beyond the canvas’s bounds. You may simply remedy this problem by stretching using the Image Size tool, which automatically increases the canvas size as well as the image size.
To do so, open the file you wish to stretch and select Image
> Image Size from the File menu.

First, make sure the Link symbol on the left isn’t active,
since this will automatically modify the width to match the height number, and vice versa, effectively resizing the picture rather than merely stretching it. Then, next to Width and Height, pick Percent from the drop-down option. In the box, type the percentage increase you’d want the width or height to be – for example, 150 percent. That indicates that once this stretch is performed, the height of my canvas will be 50% greater than the breadth.
Keep in mind that in order to add to the picture, you must choose a figure greater than 100 percent; otherwise, the image will warp inward.
After you click OK, the image will be stretched according to the proportion you choose.
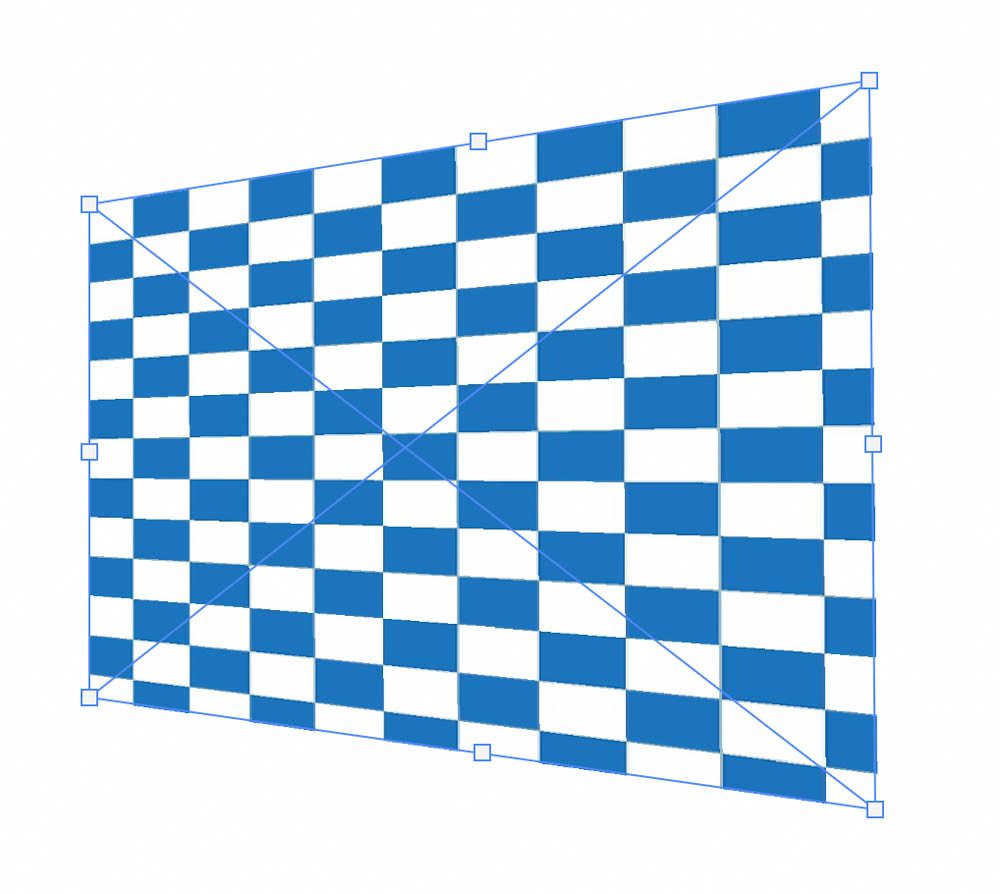
Here’s the original image in my case:
And here’s what the image looks like after expanding it by 150 percent:
The image is visibly stretched, and we don’t have any cropping because the Image Size dialogue box adjusts the canvas size to fit the image. Go to Edit > Undo to undo your work and attempt a different percentage until you’re pleased with the stretched result.
Option 2: Apply the Distort setting to the Transform Tool.
The transform tool may be used for a variety of things, including scaling, rotating, and distorting your image in various ways. When you use the Transform tool with the Distort setting, you may stretch and warp your picture in whatever way you like.
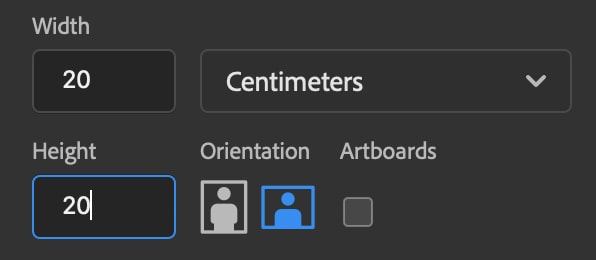
To begin, start by creating a new document. Make sure the canvas size in the New Document window is substantially larger than your planned picture; otherwise, if you extend it beyond the canvas, the image will be clipped. I’m going with a size of 20×20 cm, but you may experiment with whatever size works best for your image.
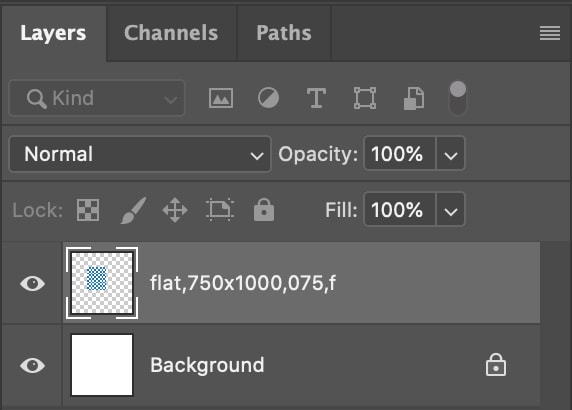
Drag and drop your photo from your computer onto the canvas to complete the process. As opposed to the background layer, the picture will be added as a new layer. Because you can’t use the Transform tool on a background layer because it’s locked, it’s critical that your picture exists as a distinct layer from the backdrop. Although you can unlock the backdrop layer, it’s faster to just drag & drop your picture into an existing project.
Make sure your image is chosen in the layers panel once it has been imported.
After that, choose the Move Tool (V).
Now select Edit > Transform > Distort from the menu
bar.
Then, in the transform box, click and drag any of the anchor points to extend that section of your image. You may stretch your image vertically, horizontally, or diagonally using the Distort options.
Go to Edit > Free Transform or use the Control + T (PC)
or Command + T (Mac) keys to stretch your image quickly using this similar tool. Instead of using the transform tool, right-click on the layer and select Distort from the menu that displays.

The only time Free Transform varies from Distort is when the corner anchor point is moved. Along with the picture you’re clicking and dragging, Free Transform moves the edges and corners of your image. Meanwhile, the Distort option locks both sides in place and merely extends the picture in the direction of the stretched corner.
However, pulling one of the anchor points while holding Alt (PC) or Option (Mac) distorts the other side similarly.
Keep in mind that the transform tool can only be used while the Move tool is selected. So make sure you’ve got the Move Tool (V) chosen!
Option 3: Use the Content-Aware Scale to stretch an image.
Content-Aware Scale expands a picture to meet a particular aspect ratio while also protecting some sections of the image from distortion during the stretching process.
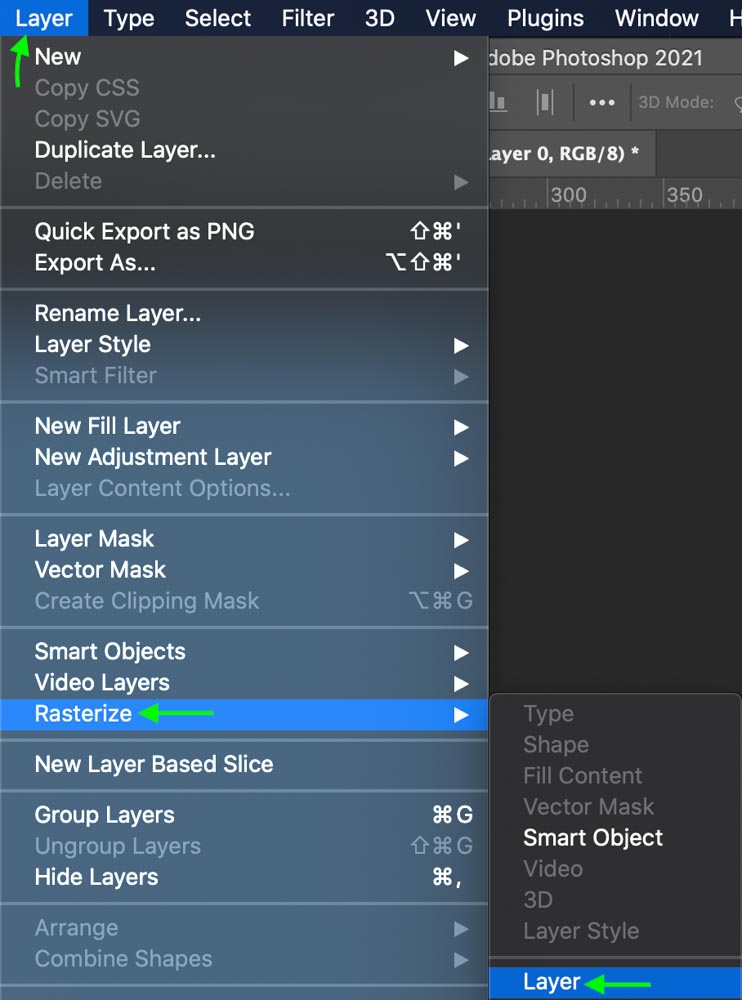
Your layer cannot be a smart object before you begin. If that’s the case, the Content-Aware Scale will be greyed out, and you won’t be able to utilize it. Fortunately, you can correct this by right-clicking on the smart object and selecting Rasterize Layer from the context menu.
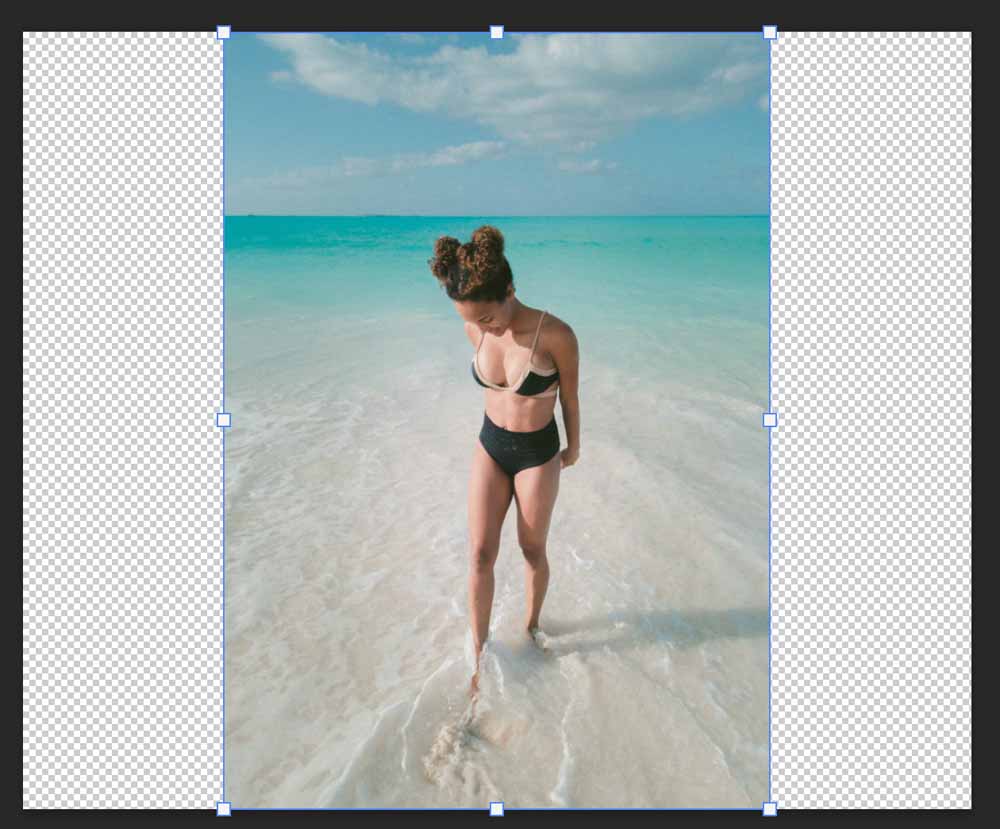
After the picture has been rasterized, use the Crop tool (C) to stretch the canvas to the desired length. You may either stretch one side of the canvas at a time or simultaneously by holding down the Alt/Option key. I’ve expanded the canvas outwards in that direction because I want to make this portrait shot horizontal.
It’s now time to employ the Content-Aware Scale, which requires first selecting the Move tool.
Then select Edit > Content-Aware Scale from the drop-down menu.
You may put in the picture’s new width and height in the upper setting bar, or just use the anchor to stretch the image to fill the transparent portions of the canvas.
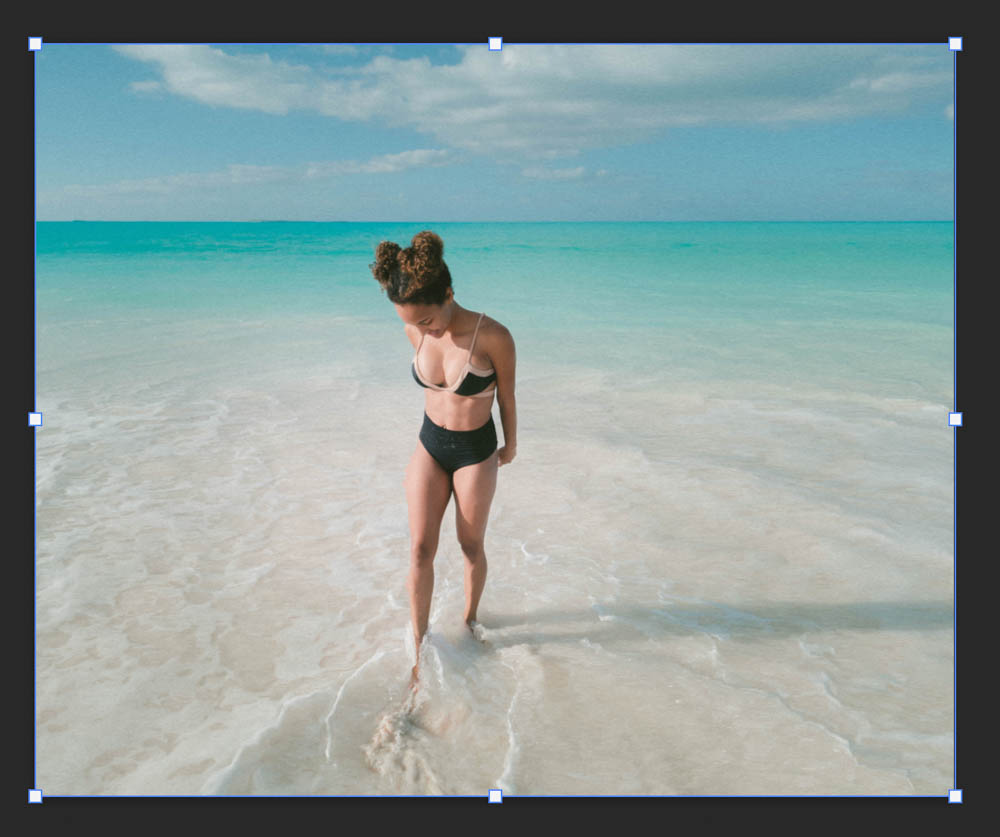
Even if the background has been extended, the individual in the center does not look stretched. As a result, the Content-Aware Scale is an excellent choice for expanding photos while maintaining some information.
Stretching photographs without distorting your topic is much easier using Content-Aware Scale. In this Photoshop tutorial on extended backgrounds, I go through more about this approach and its drawbacks.
Stretching an image doesn’t have to be complicated, and it doesn’t have to cause the image to distort and lose quality. These techniques will enable you to stretch things in Photoshop while maintaining a high level of quality and achieving the desired look.
You can follow this video:
Frequently Asked Questions
How do you stretch an image?
Ctrl + T (Windows) or ⌘ Cmd + T (Mac). This launches the Transform tool, allowing you to flexibly resize the photo. To retain the ratio, hold ⇧ Shift while dragging the photo size.
How do I stretch an image in Photoshop without distorting it?
Step 1: Expand the canvas in the first step. Bring your image into Photoshop and, if your layer is a smart object, be sure to rasterize it.
Step 2: Use Content Aware Scale to stretch. To choose one side of the image, use the rectangle marquee tool.
Step 3: Clean up.
Step 4: Disseminate to the rest of the world.
How do I stretch pixels in Photoshop?
When you hover over the Marquee Tool line after selecting the Free Transform option, the pointer will appear as two opposing arrows. Drag the pointer down over the image by clicking on the line where the opposing arrows appear. As you drag the mouse, you’ll see that the entire row of pixels expands.
How do I stretch an image without losing quality?
In Photoshop, open your image. Select “Preserve Details” from the corresponding dropdown option in the Image Size dialog, then check resample. Ascertain that the Resolution is set to 300 pixels per inch. To expand your image, change the Width and Height to inches and modify the settings.
How do you resize an object in Photoshop?
Select “Transform” from the Edit menu and then “Scale” to resize a layer or a chosen item within a layer. Around the item, eight square anchor points appear. To resize the item, drag any of these anchor points. While dragging, hold down the “Shift” key to limit the proportions.


